

Open the plugin directory on any WordPress site and count how many “SEO helpers” nobody remembers installing. That’s usually how it happens. Someone read a listicle two years back, added Yoast because everyone said to, and now there’s a green traffic light in the sidebar saying a post is “OK” while the page itself still ships extra CSS, extra JS, and a settings menu nobody’s opened since setup day.
Here’s what most of those tutorials skip: WordPress already does a good chunk of this on its own. The “SEO plugin magic” is mostly a UI sitting on top of PHP filters and hooks that have lived in WordPress core for years. Write the same output by hand, and it usually takes less time than clicking through a plugin’s onboarding wizard and figuring out which of its forty settings actually matter.
This isn’t an anti-plugin rant, so don’t read it as one. Plugins earn their keep on teams where five different writers need a stoplight checklist before hitting publish, no argument there. But if it’s one person running the site, or the goal is a genuinely lean build, or there’s just no appetite for another dependency sitting in wp-content/plugins waiting to break on the next core update, there’s a real path here. WordPress SEO takes more effort upfront, no way around that. What it buys back is knowing exactly what’s in the <head> of every page on the site instead of trusting a black box that occasionally does something odd to a custom post type nobody tested.
So here’s the full run: title tags and meta descriptions by hand, the native XML sitemap most people don’t know exists, schema markup written from scratch, speed and Core Web Vitals, image SEO, internal linking, robots.txt and crawl control, and a monthly health-check routine so none of it quietly rots six months from now. It’s long. It’s the kind of long that saves time later, not the kind that wastes it now.
Why Skip SEO Plugins?
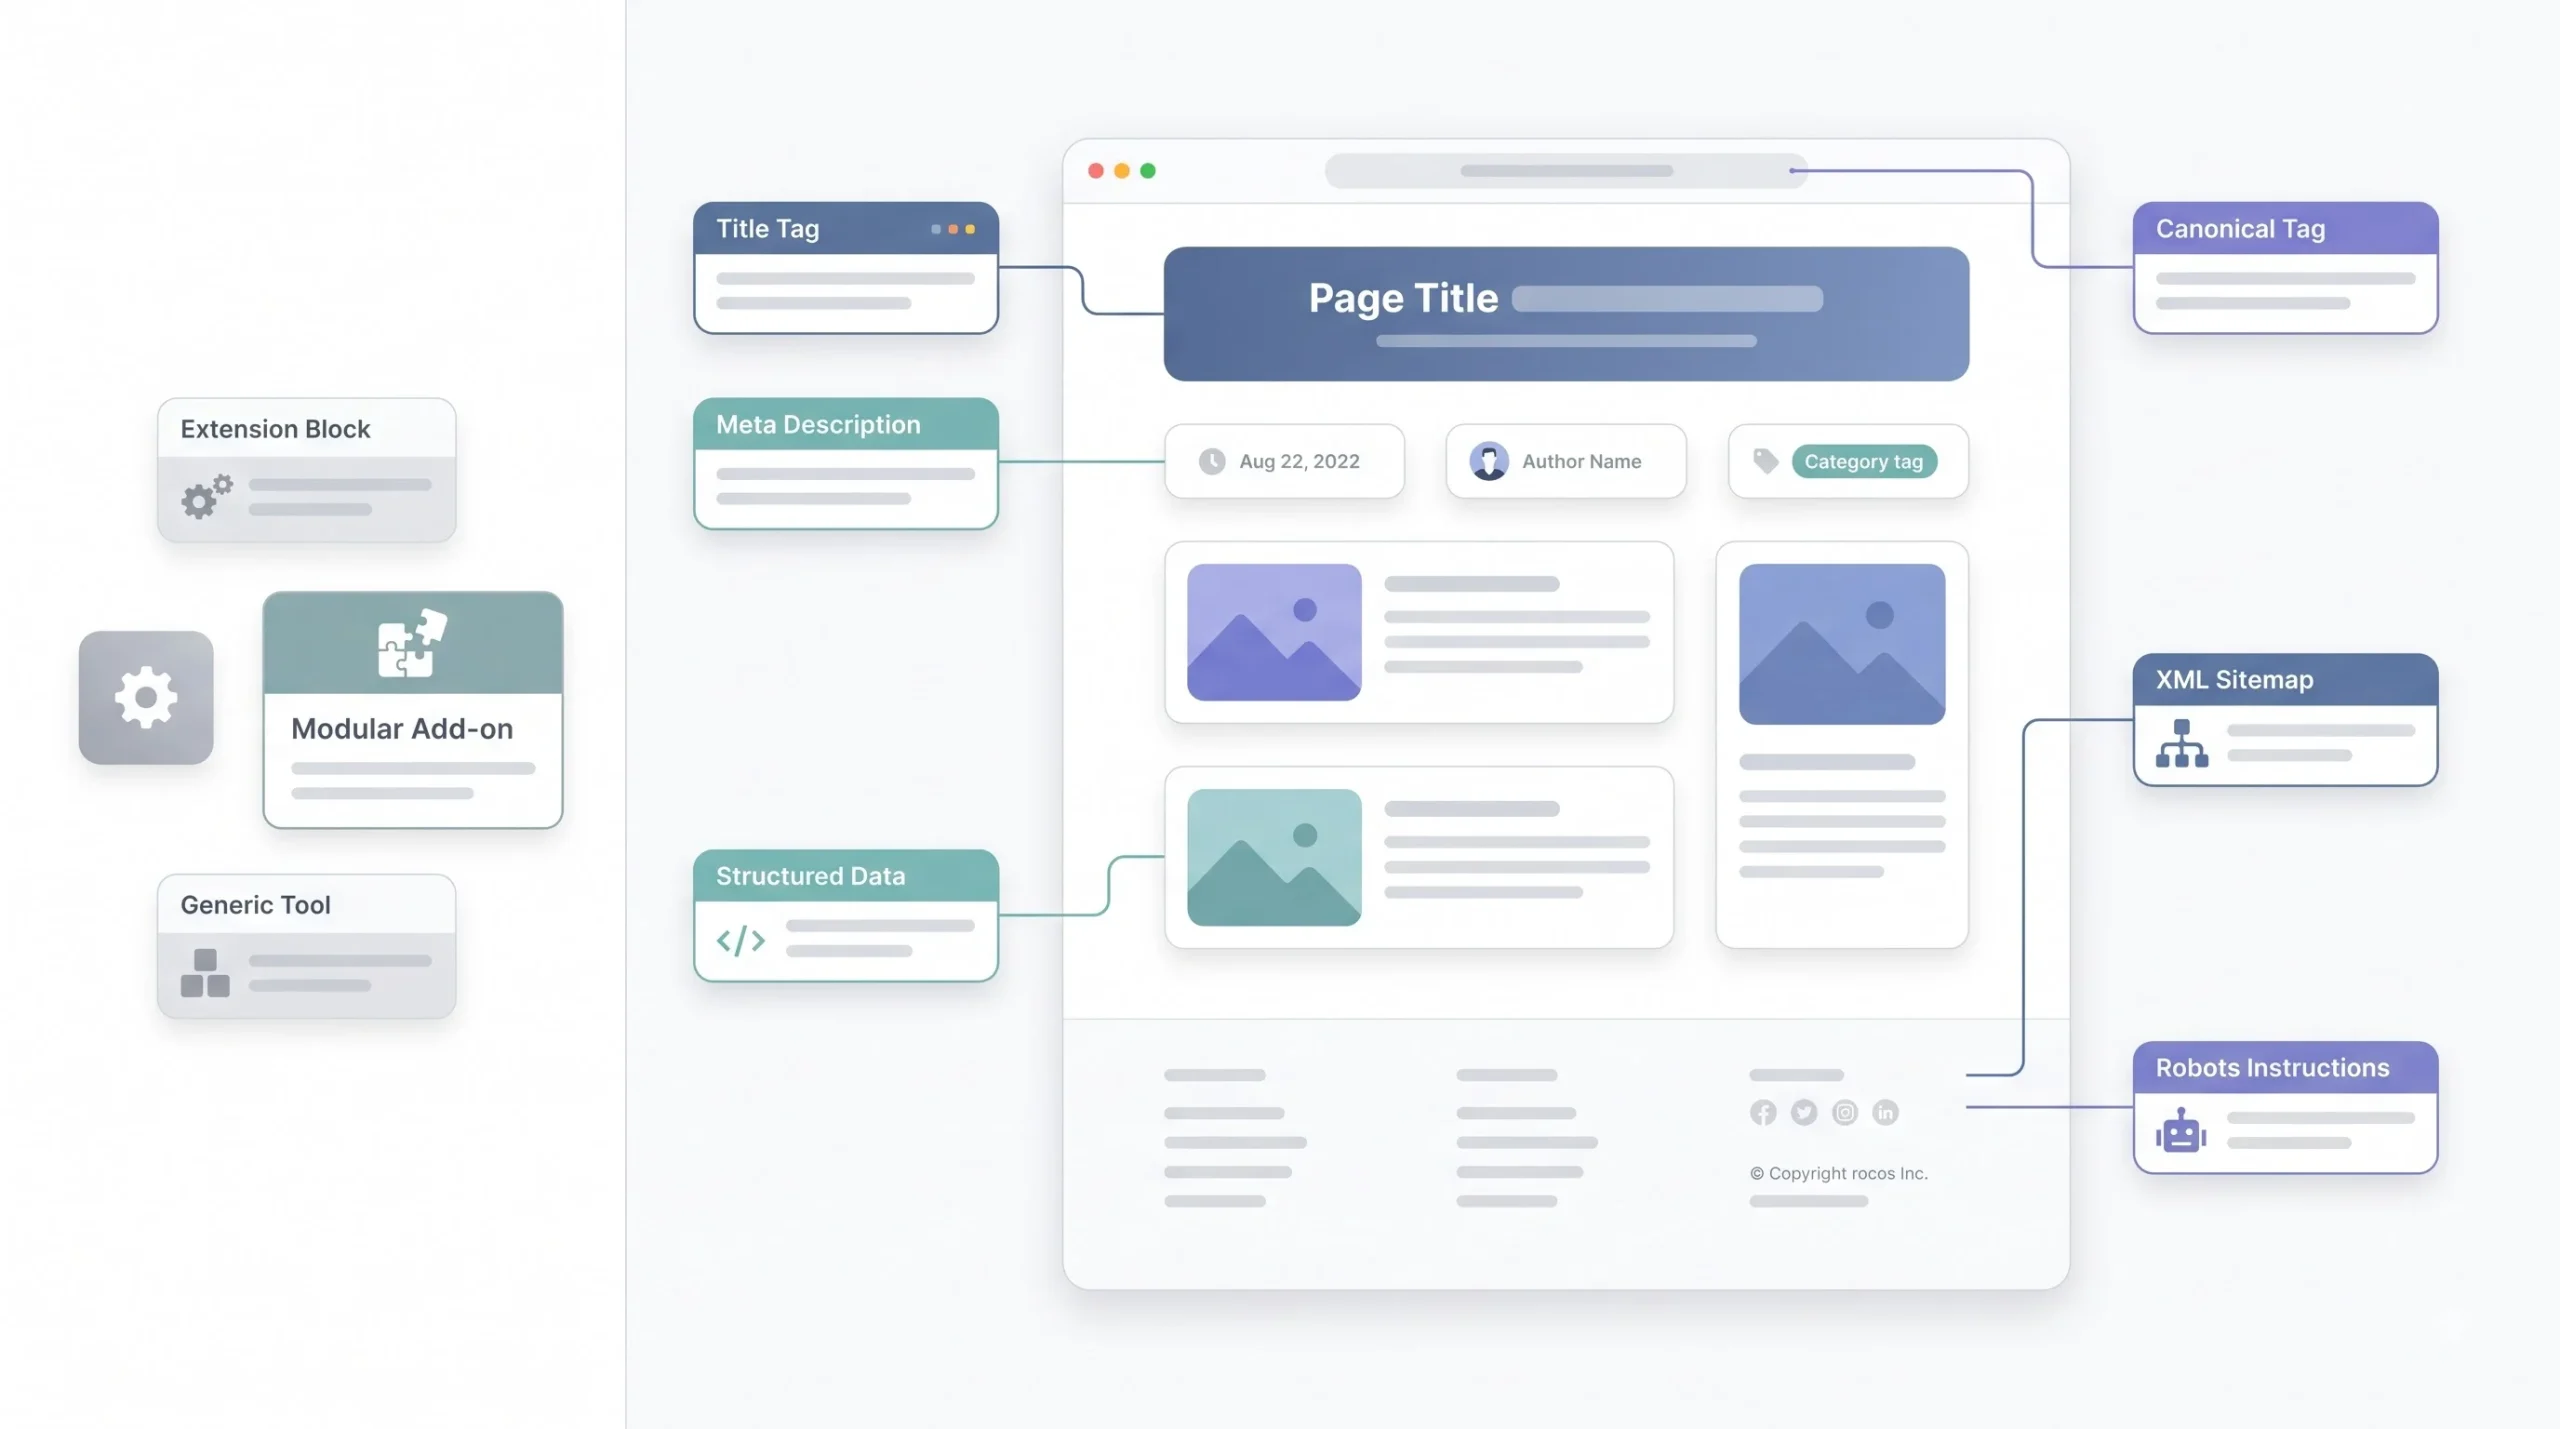
Honestly, the case for going manual comes down to three things: performance, control, and actually understanding what’s happening under the hood instead of trusting a settings page.
Start with performance. Plugins like Yoast and Rank Math aren’t small. They add their own CSS and JS to the admin panel, run extra database queries on every page load to check things like readability scores and focus keywords, and while most of that overhead stays out of the frontend, not all of it does. On shared hosting, where CPU and memory are already split across dozens of other accounts on the same server, that extra weight is more noticeable than people admit. Then there’s the update treadmill. Every plugin is one more thing that needs patching, one more thing that can silently conflict with a theme after a core WordPress update, and one more entry point if it’s ever the one with a security hole. Popular SEO plugins have shipped vulnerabilities before, not because they’re badly built, but because anything with a large install base becomes a target eventually.
Then there’s control, which matters more than people expect once they actually experience the alternative. Write the meta tag output yourself and there’s no guessing whether a plugin auto-generated something strange for a custom post type, no digging through three tabs of settings to figure out why a canonical tag is pointing somewhere it shouldn’t. The code is right there. It says exactly what it does.
And speed keeps mattering more, not less. Google’s own Core Web Vitals guidance ties load speed and page responsiveness directly to how a page performs in search, so every script sitting on a page that isn’t earning its place is quietly working against it.
Here’s the honest counterpoint, because pretending there isn’t one would be dishonest: a site with 500+ posts and five content editors who aren’t developers genuinely benefits from a plugin’s guided checklist. Nobody’s chasing every editor down to check if they remembered to write a meta description by hand. This guide is for the solo site owner, the developer, the person who wants to see the machinery instead of trusting a green light. Not everyone needs to go this route, and that’s completely fine.
| Factor | SEO Plugin | Manual (No Plugin) |
|---|---|---|
| Setup time | Fast, guided UI | Slower, one-time code setup |
| Ongoing maintenance | Plugin updates required | No plugin updates, code rarely changes |
| Performance overhead | Adds JS/CSS/DB queries | Minimal to none |
| Control over output | Abstracted behind settings | Full control over every tag |
| Best for | Multi-author sites, non-technical teams | Solo site owners, developers, lean builds |
| Learning curve | Low | Moderate (comfortable editing functions.php) |
Reality check: An SEO plugin doesn’t do SEO for you. It gives you a UI to control tags that WordPress and your theme already output. Understanding what’s under that UI is what actually moves rankings.
What You’ll Need Before Starting
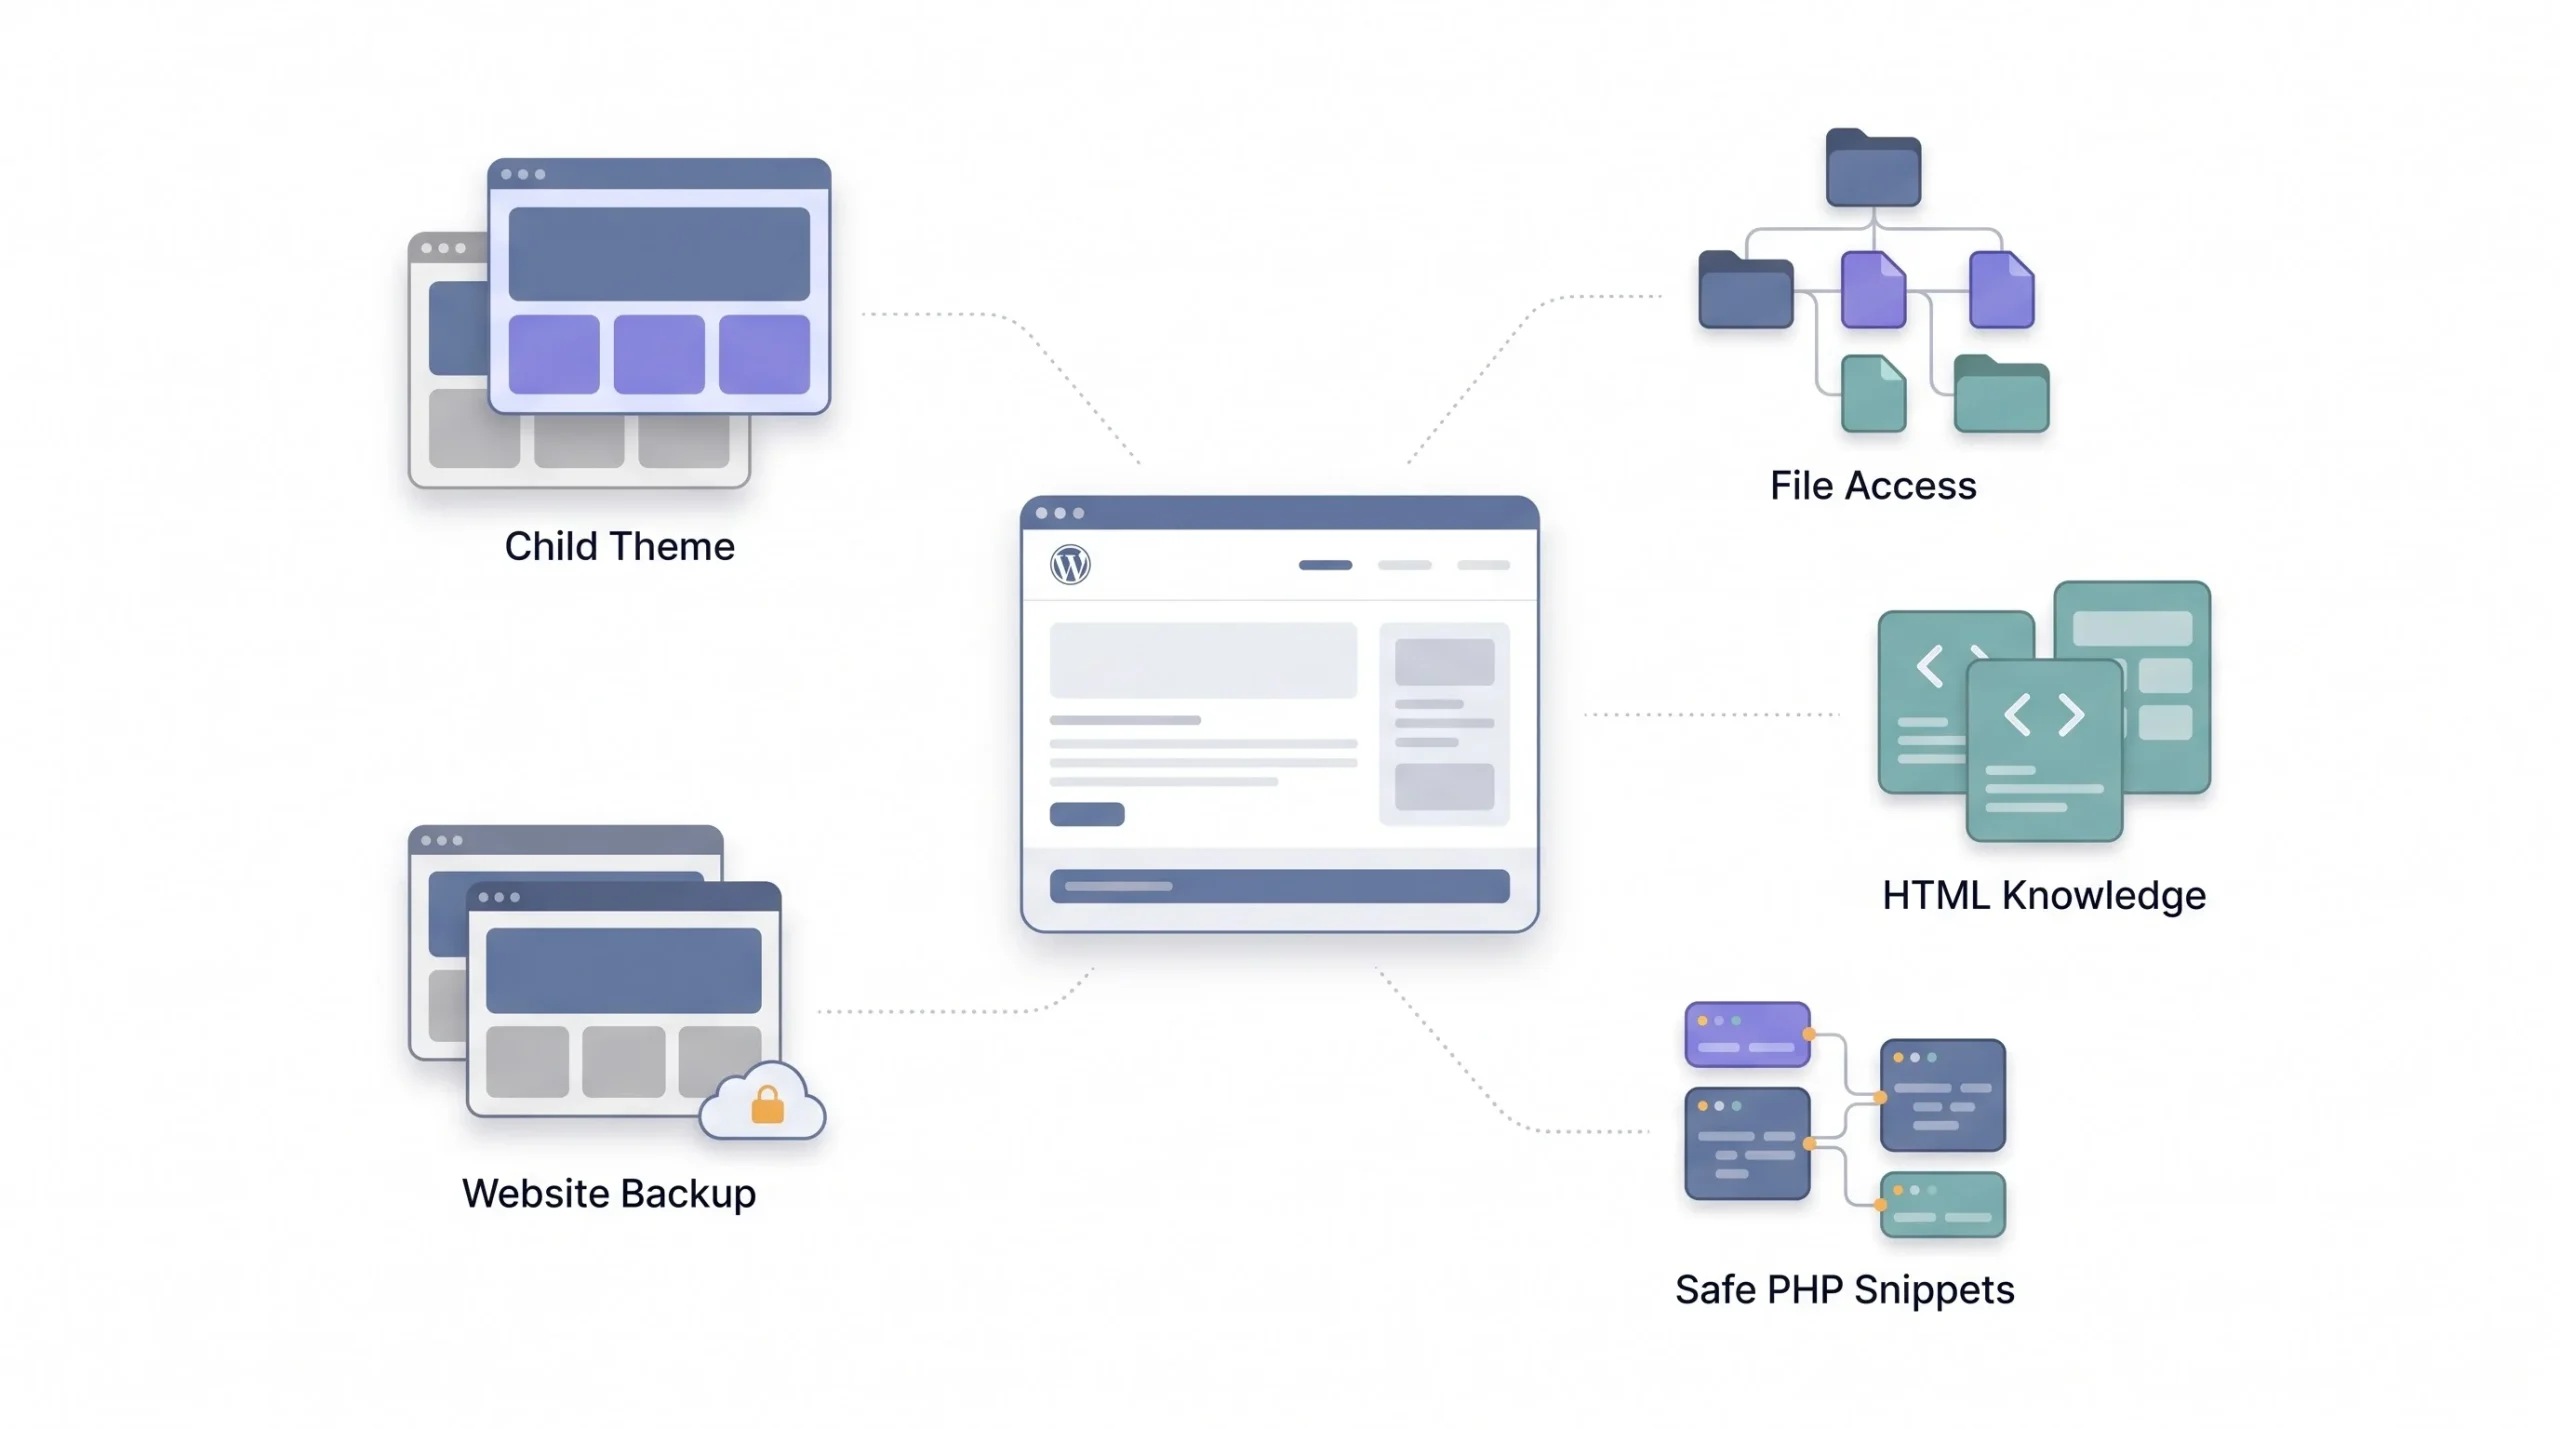
Before touching a single file, get a few things in order. Skip this part and the difference is a smooth afternoon versus a panicked call to hosting support because the site’s throwing a white screen.
First, use a child theme. Never edit a parent theme’s files directly, because the moment that theme updates, every change gets wiped out and there’s no warning it’s about to happen. A child theme keeps custom code isolated from that.
Second, sort out actual access to the files. FTP, a File Manager tool from the hosting dashboard, or direct code editor access for anyone comfortable with that. A lot of the snippets ahead go into functions.php, and if that name makes anyone nervous, there’s a safer middle ground: a lightweight snippet manager that runs PHP without ever touching a theme file directly, or WordPress’s own Site Health and Theme File Editor screens, used carefully and on a backup first.
Third, get comfortable with basic HTML. Manual SEO means writing <title>, <meta>, and <link> tags by hand at some point, or at minimum reading them and knowing what each one does. Nobody needs to be a full developer for this, but flinching at an opening angle bracket is going to slow things down.
And last, back up the site or work on a staging copy first, no exceptions. Editing theme files carries real risk. One missing semicolon in functions.php and the whole site goes down, not just the one page being edited.
Tip: If
functions.phpediting feels risky, a lightweight snippet manager approach is the safer middle ground. It won’t break your whole site if one snippet has a typo, unlike editingfunctions.phpdirectly.
Title Tags and Meta Descriptions Without a Plugin
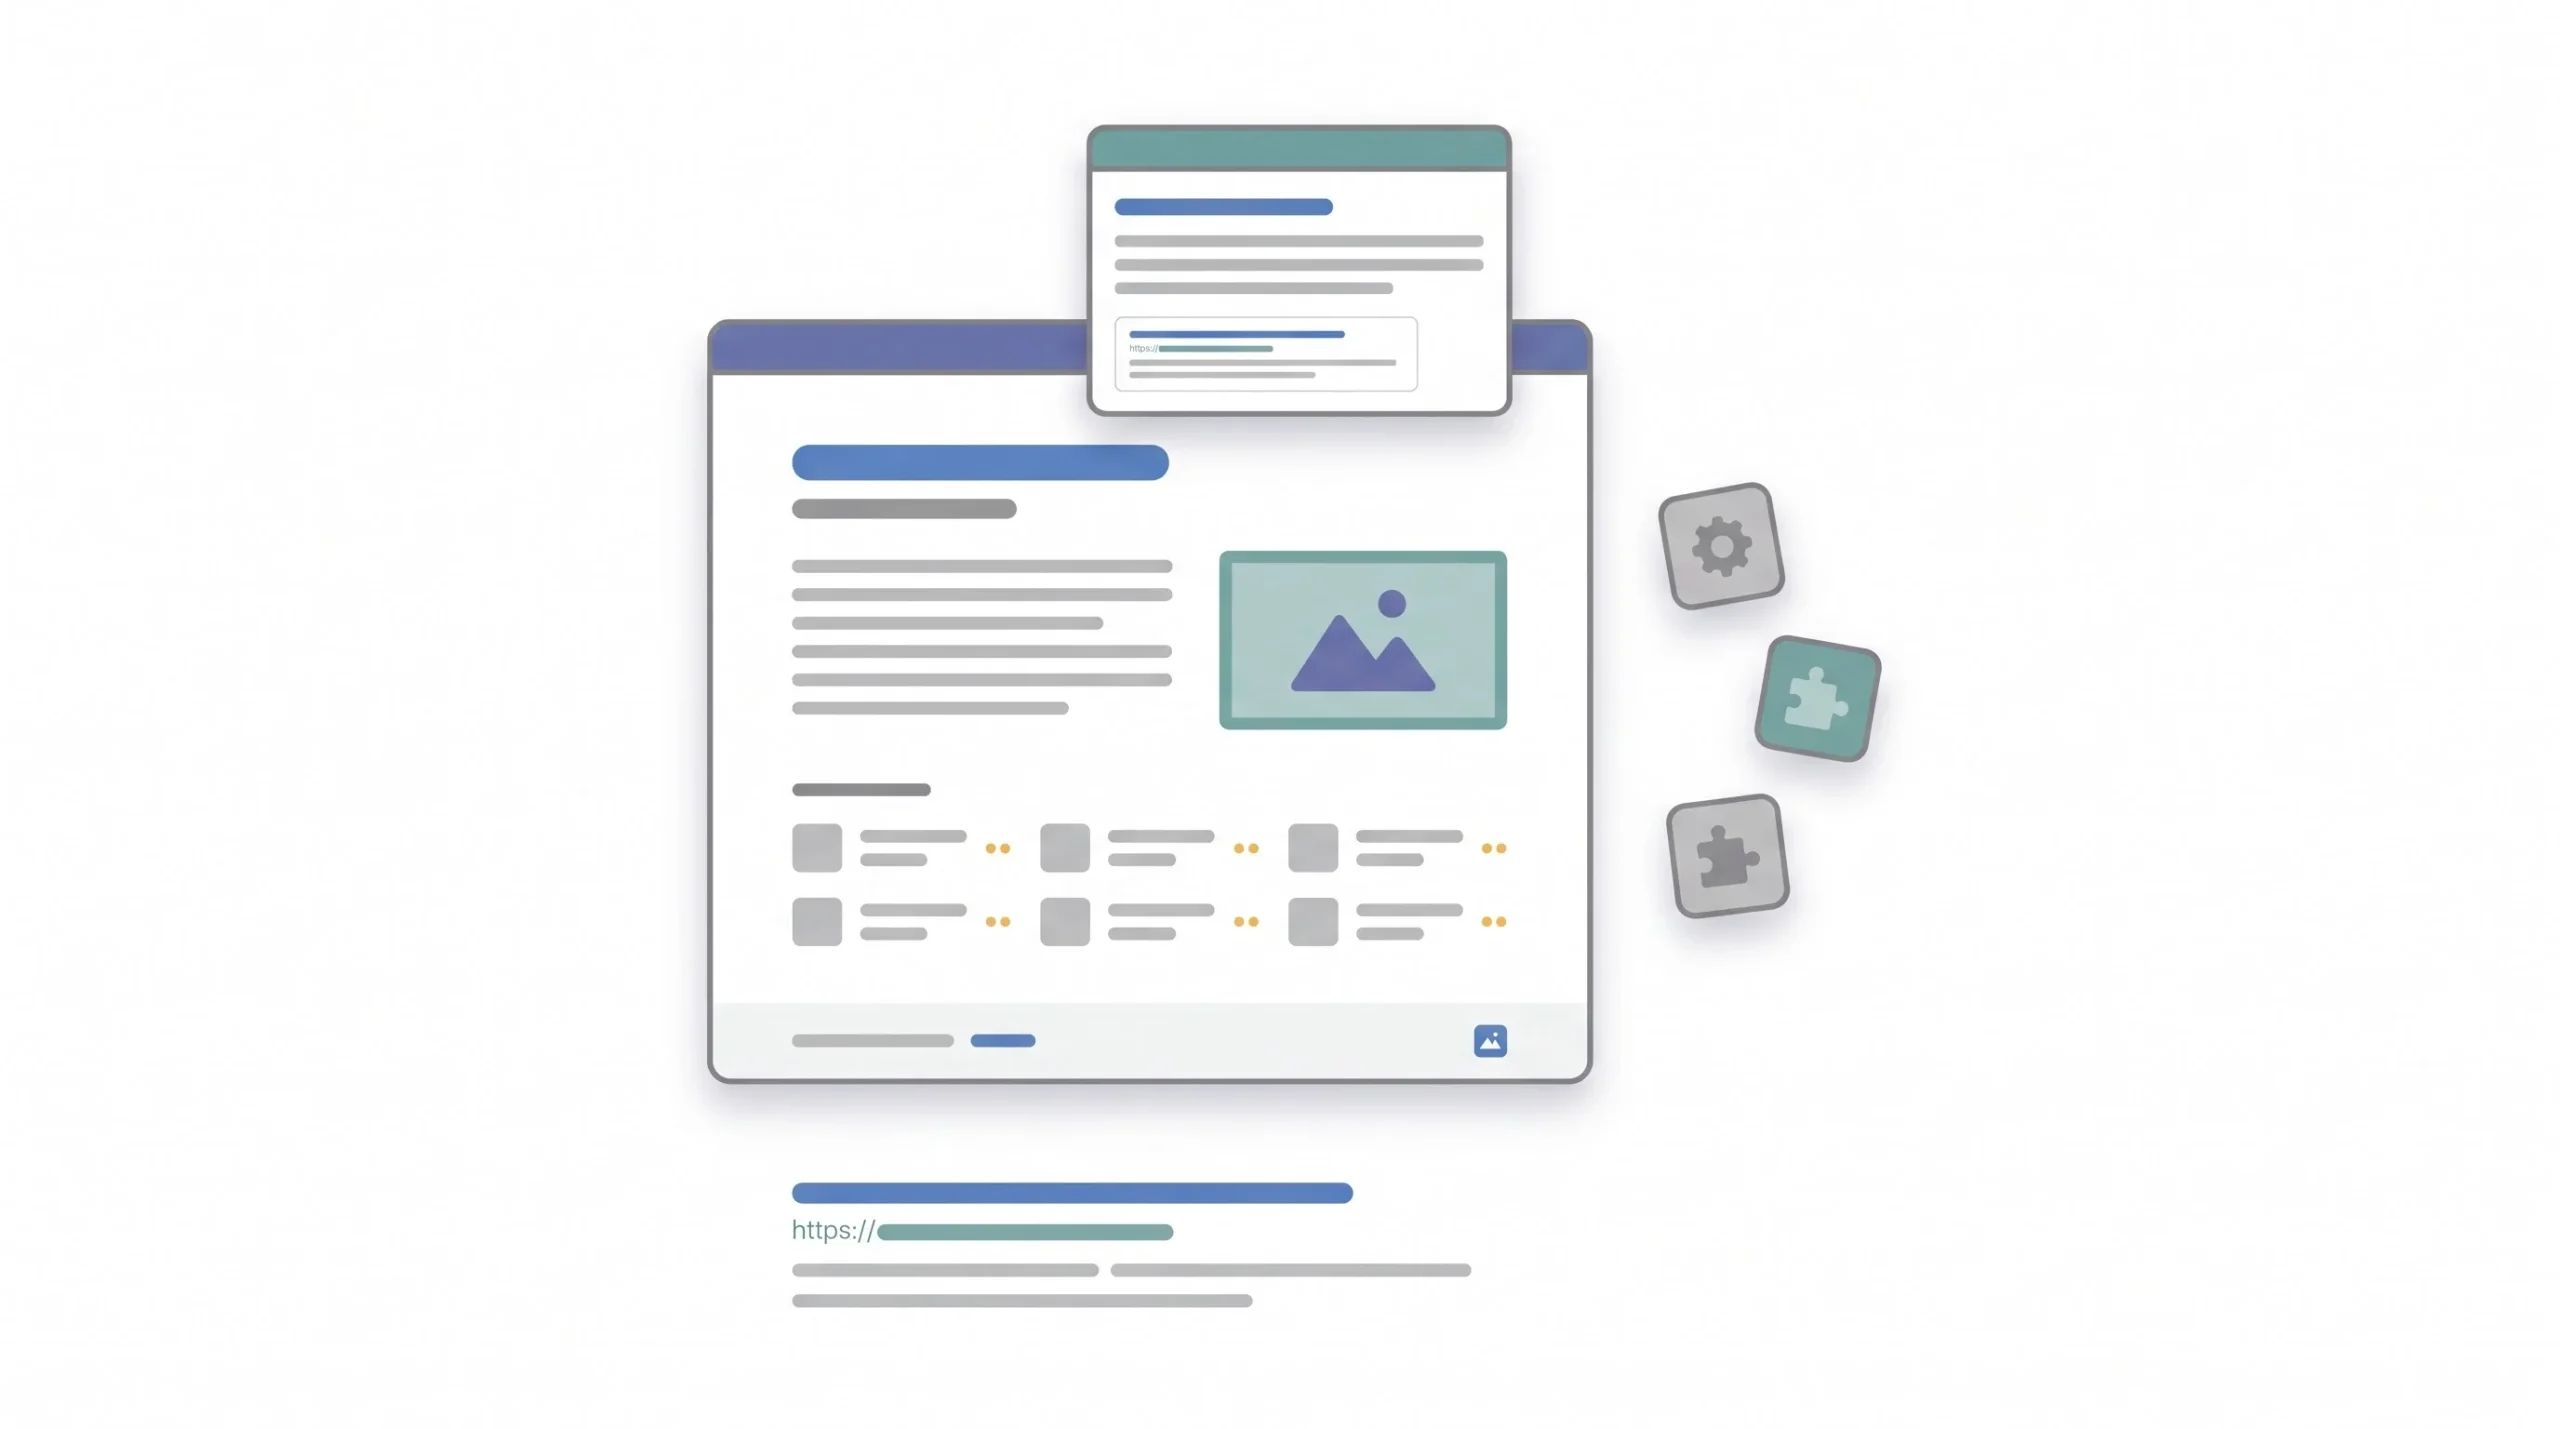
This is the part everyone assumes needs a plugin, and it’s genuinely one of the easier things on this list to do manually. Fifteen minutes, tops, and it never needs touching again.
How WordPress generates titles by default. Since WordPress 4.4, there’s a built-in Title Tags API handling this through the document_title functions. The theme calls wp_head(), WordPress assembles a title from the post title plus the site name, and it gets output automatically. The problem is the default format is generic and rigid. It’s usually “Post Title – Site Name,” with no control over which part comes first and no way to drop the brand suffix on pages where it’s just wasting characters.
Overriding the title tag manually. You can hook into document_title_parts and rewrite how the pieces get assembled. Something like this:
add_filter('document_title_parts', function($title) {
    if (is_singular()) {
        $title['title'] = get_the_title() . ' | Your Brand';
    }
    return $title;
});
That’s it. No plugin, no settings page, just a filter that runs every time WordPress builds a page title. You control the order, the separator, whether the brand name even shows up on every page or just the homepage.
Adding custom meta descriptions per post. Here’s the thing nobody tells beginners: WordPress has zero native support for meta descriptions. There’s no field for it anywhere in the default editor. Plugins add that field for you. Without one, you build it yourself using a custom meta box:
function add_meta_description_box() {
    add_meta_box('meta_description_box', 'Meta Description', 'meta_description_callback', 'post', 'normal', 'high');
}
add_action('add_meta_boxes', 'add_meta_description_box');

function meta_description_callback($post) {
    $value = get_post_meta($post->ID, '_meta_description', true);
    echo '<textarea style="width:100%" name="meta_description" rows="3">' . esc_textarea($value) . '</textarea>';
}

function save_meta_description($post_id) {
    if (isset($_POST['meta_description'])) {
        update_post_meta($post_id, '_meta_description', sanitize_text_field($_POST['meta_description']));
    }
}
add_action('save_post', 'save_meta_description');

function output_meta_description() {
    if (is_singular()) {
        $desc = get_post_meta(get_the_ID(), '_meta_description', true);
        if ($desc) {
            echo '<meta name="description" content="' . esc_attr($desc) . '">' . "\n";
        }
    }
}
add_action('wp_head', 'output_meta_description');
Now every post has a plain textarea where you type a description, and it outputs correctly in the head. That’s the entire mechanism a plugin runs, just without the extra layer.
On length: keep titles around 50 to 60 characters, because Google truncates anything wider than roughly 600 pixels on desktop. Meta descriptions should sit under 155 to 160 characters, though it’s worth knowing Google rewrites these fairly often anyway if it thinks a snippet from the page matches the query better.
| Device | Recommended Length | Notes |
|---|---|---|
| Desktop search | 50–60 characters | Google truncates beyond ~600px |
| Mobile search | 50–60 characters | Similar truncation, slightly narrower |
| Meta description | 120–155 characters | Google sometimes rewrites this anyway |
Strategy: Write the title for humans first, keyword second. A title that gets clicks outperforms a keyword-stuffed title that ranks but gets ignored in the results page.
XML Sitemaps Without a Plugin
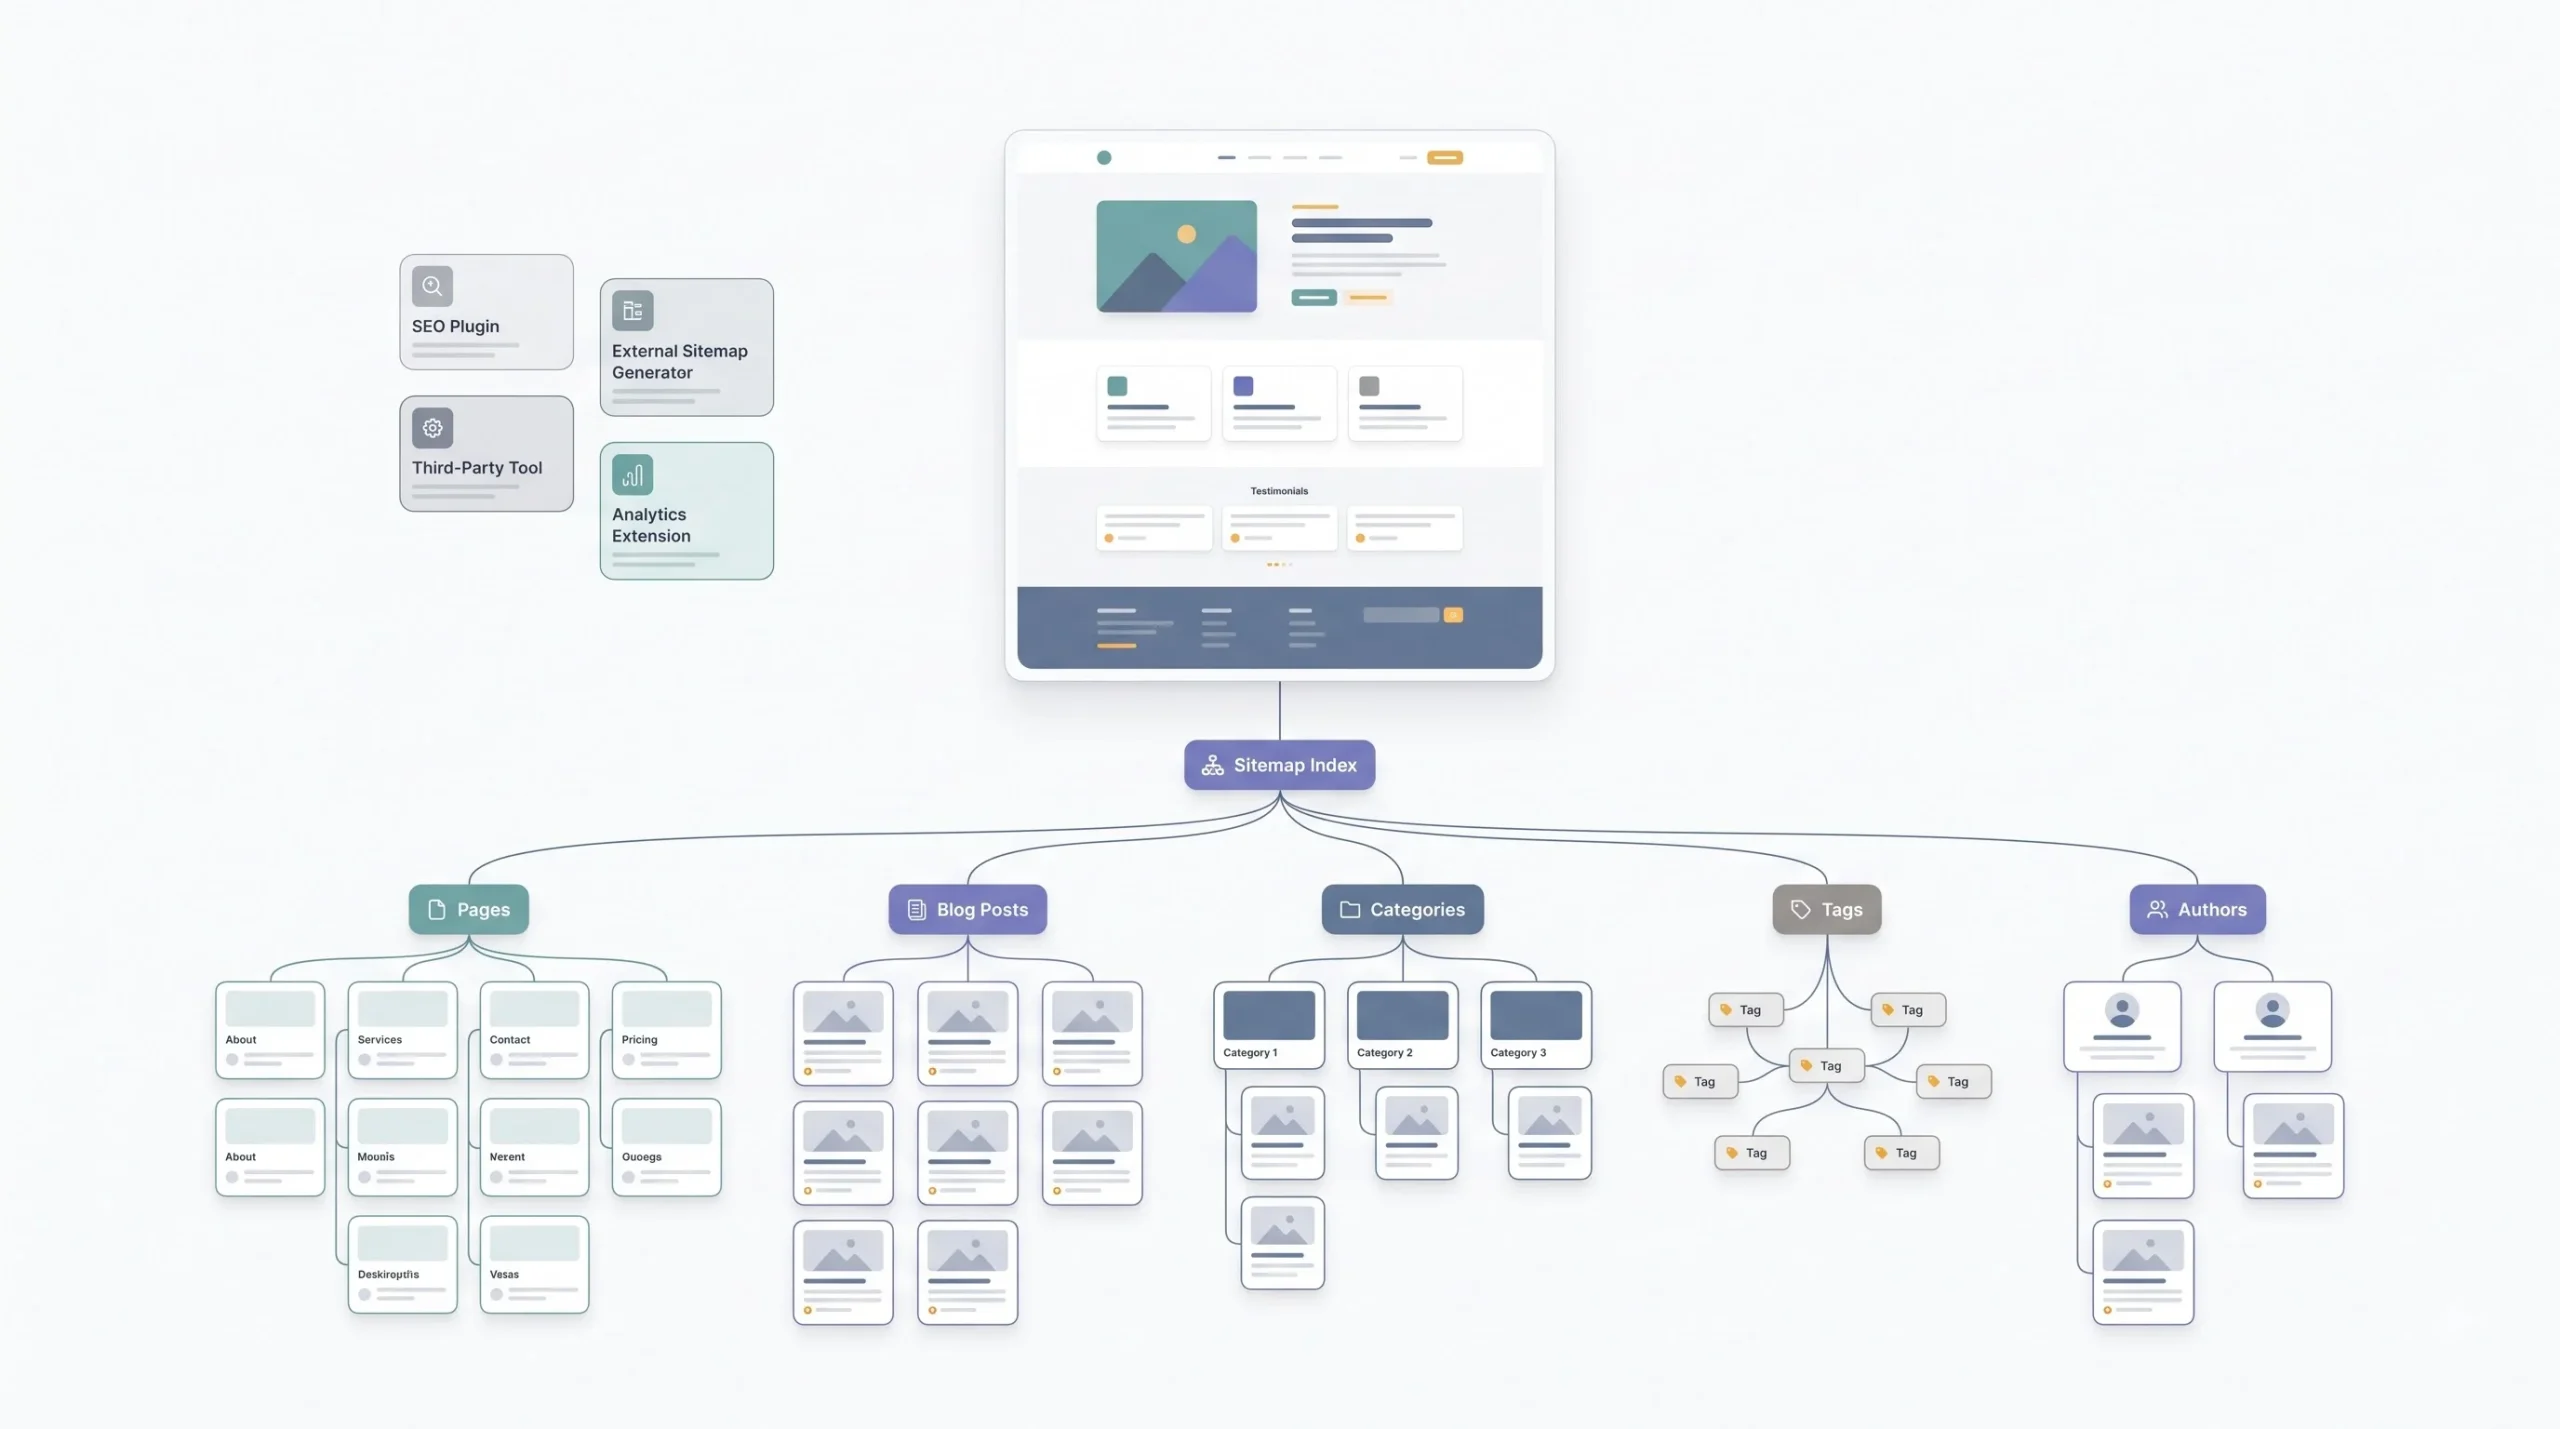
This one gets a reaction every single time it comes up. WordPress has shipped a built-in XML sitemap since version 5.5, which came out back in 2020. It’s sitting at /wp-sitemap.xml on the domain right now, active, whether anyone’s ever opened that URL or not. Go check. It’s there.
What the native sitemap includes. By default it covers posts, pages, authors, and taxonomies like categories and tags. It’s broken into an index file that links out to smaller sitemap files for each content type, which is actually the correct structure search engines want, rather than one giant flat file.
The limitations. There’s no priority or change frequency control, which honestly doesn’t matter much since Google mostly ignores those fields anyway. The bigger issue is the default sitemap includes everything, including author archive pages and taxonomies you might not want indexed at all.
Customising it. You can filter out post types or adjust the URL count with a couple of hooks:
add_filter('wp_sitemaps_post_types', function($post_types) {
    unset($post_types['attachment']);
    return $post_types;
});

add_filter('wp_sitemaps_max_urls', function($max_urls) {
    return 500;
});
That first snippet removes media attachments from showing up as their own sitemap entries, which is usually what you want unless you’re running an image-heavy site trying to rank in Google Images specifically.
Submitting to Search Console. Once your sitemap is set the way you want, go into Google Search Console, find the Sitemaps section under Indexing, and submit wp-sitemap.xml. That’s genuinely the whole process. No plugin dashboard needed.
When the native sitemap isn’t enough. If you’re running a large ecommerce catalog, or you need dedicated image or video sitemaps, the native WordPress sitemap won’t cover that on its own. That’s a case where either custom code or a dedicated sitemap tool starts to make more sense than pure manual work.
Did you know? WordPress has shipped a built-in XML sitemap since version 5.5. Most site owners install a plugin for something WordPress already does natively.
Schema Markup Without a Plugin
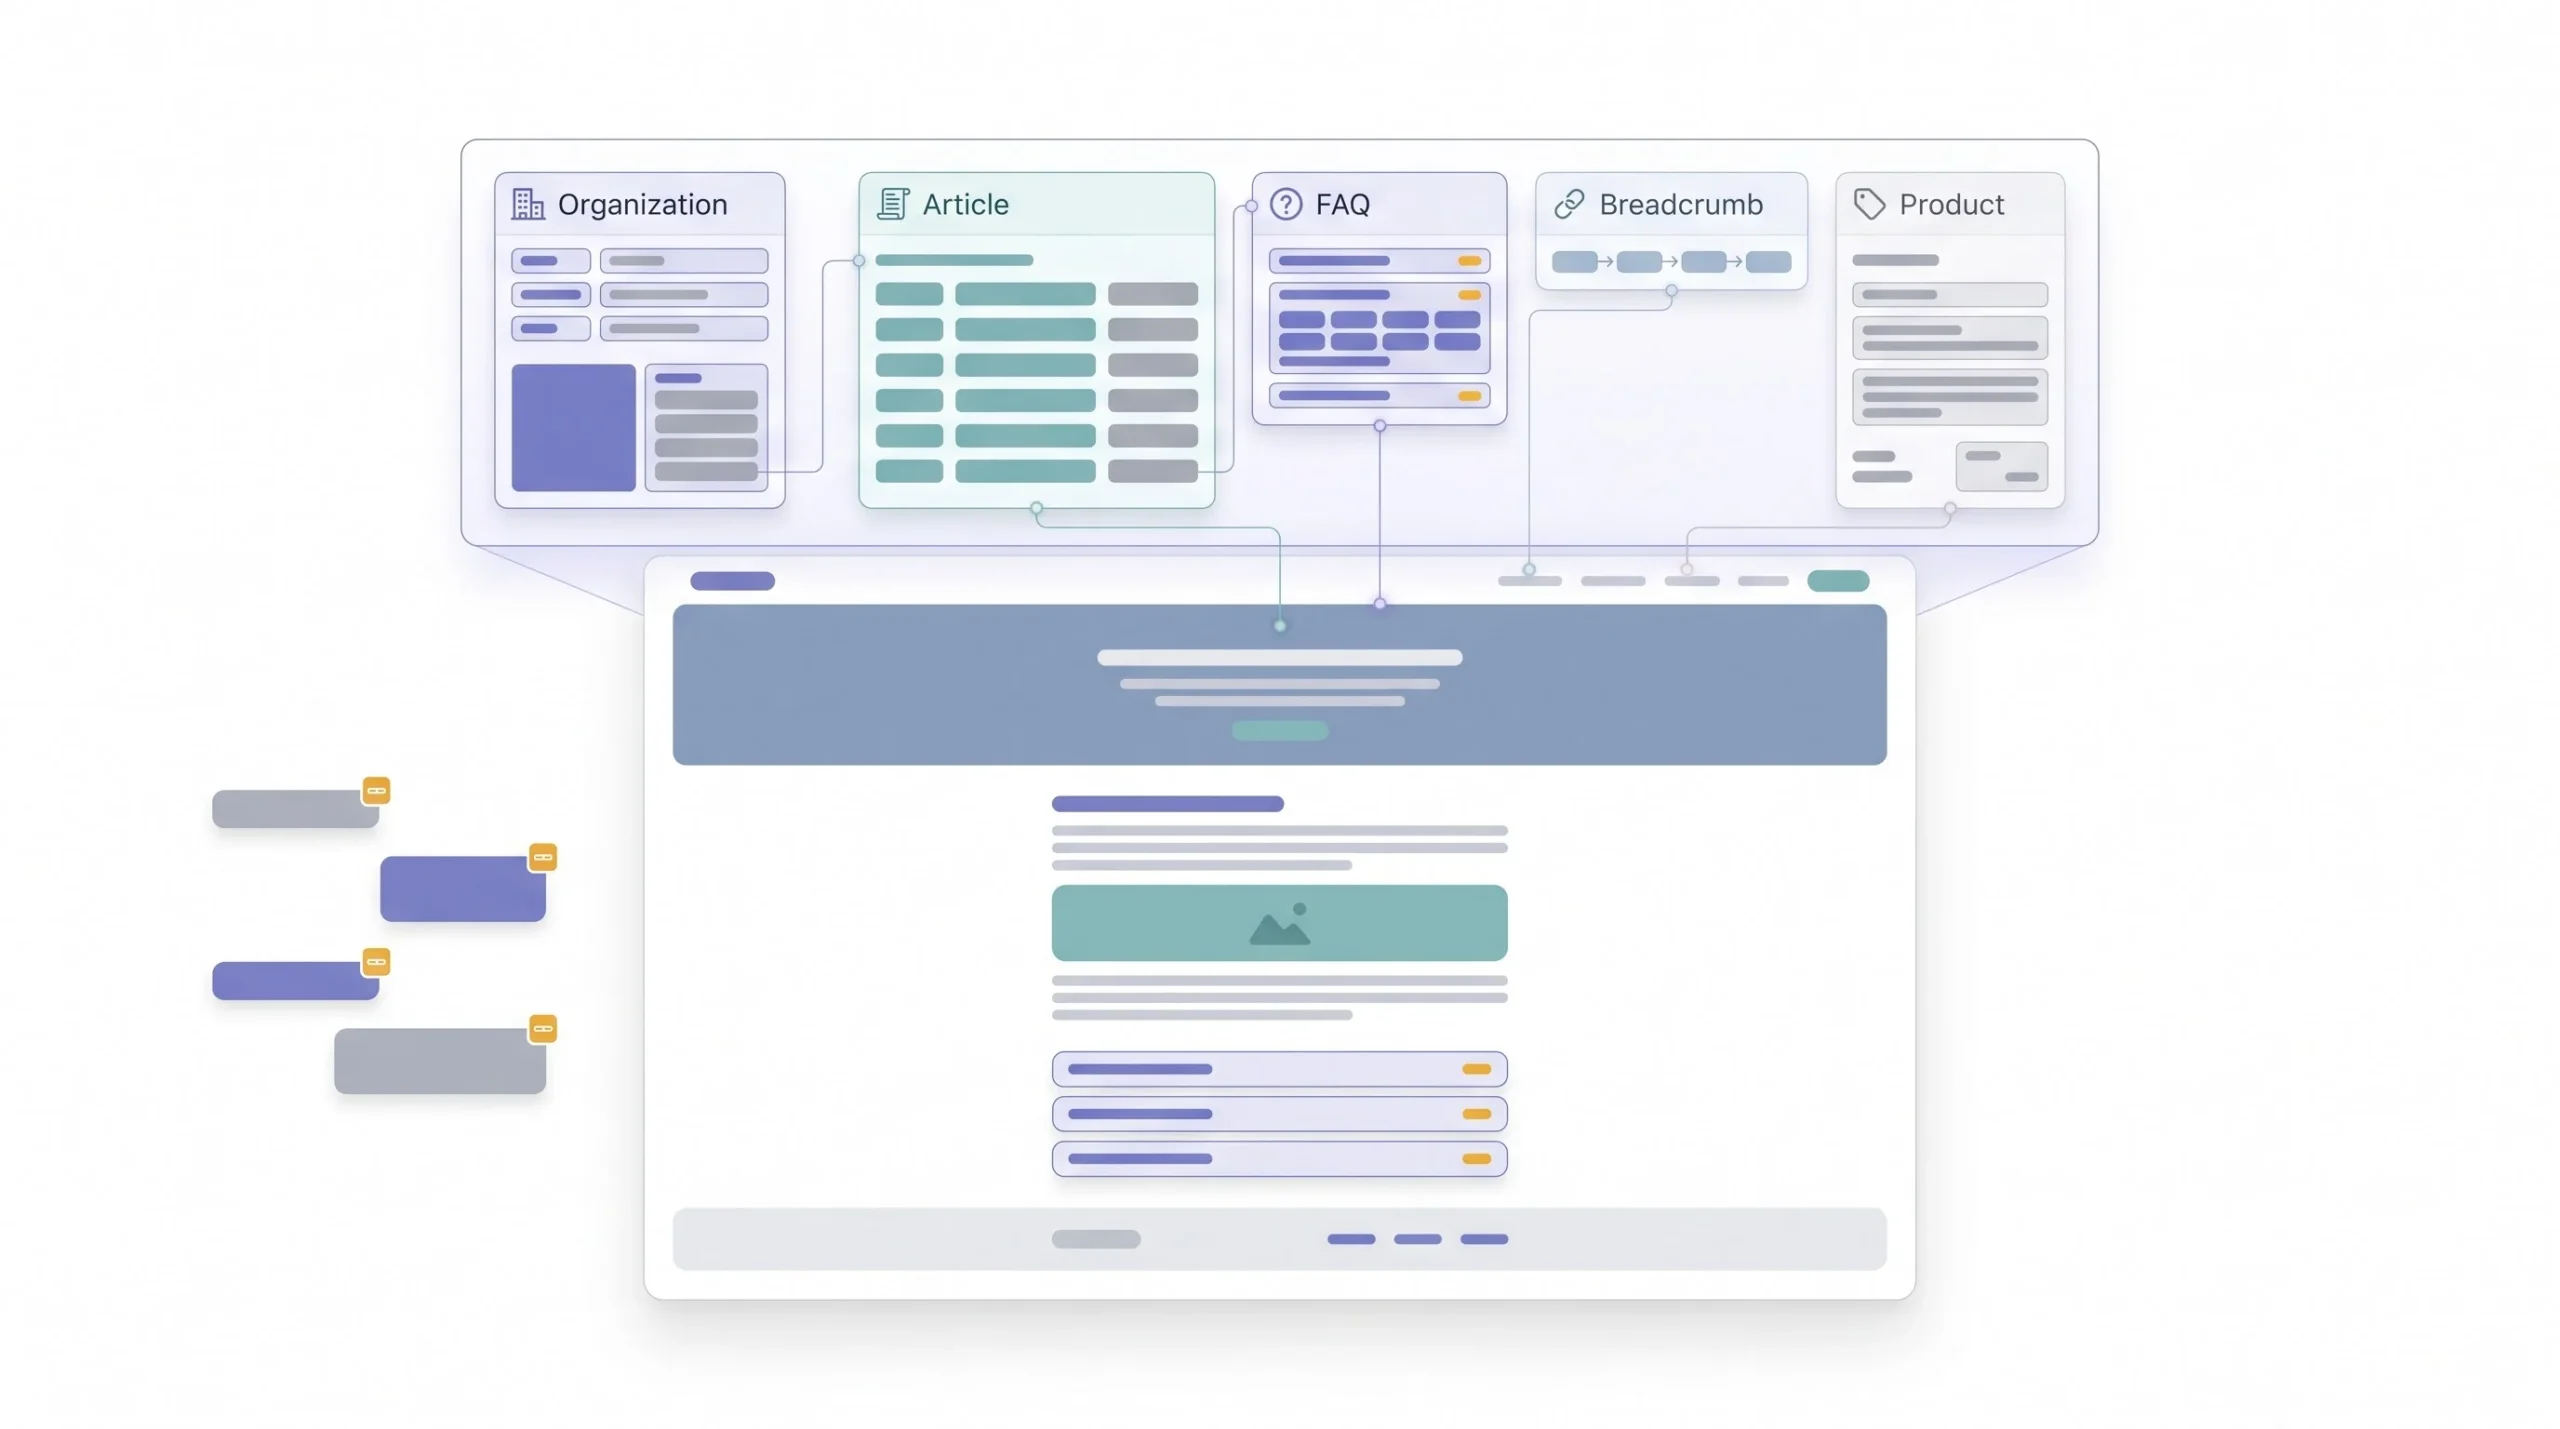
This is where most people give up and reach for a plugin, mostly because schema sounds intimidating before it’s been seen up close. It’s really not. It’s a JSON object. That’s the whole scary secret.
One thing worth saying before diving in: only mark up what’s actually on the page. Google’s guidelines are explicit that structured data has to reflect real, visible content, not what a site owner wishes were true. Adding FAQ schema for questions that don’t appear anywhere in the post, or review schema for ratings nobody left, isn’t a shortcut. It’s the kind of thing that gets a site’s rich results pulled entirely.
What schema actually does. Schema markup is structured data that tells search engines specifically what’s on a page, not just that there’s text on it. It’s how you get rich results like star ratings, FAQ dropdowns, or article bylines showing up directly in search. Google’s own structured data documentation covers this in detail if you want to go deeper on any single type.
Why JSON-LD over the alternatives. There are a few formats for writing schema, microdata, RDFa, and JSON-LD. JSON-LD wins because it’s a separate script block you drop into the page, completely detached from your HTML structure. You’re not weaving attributes into every div. It’s a clean JSON object, easy to read, easy to debug.
Organization schema, sitewide. Add this once, and it applies to every page through wp_head:
function add_organization_schema() {
    if (is_front_page()) {
        $schema = [
            "@context" => "https://schema.org",
            "@type" => "Organization",
            "name" => get_bloginfo('name'),
            "url" => home_url(),
            "logo" => get_site_icon_url()
        ];
        echo '<script type="application/ld+json">' . wp_json_encode($schema) . '</script>' . "\n";
    }
}
add_action('wp_head', 'add_organization_schema');
Article schema, per post. This one’s dynamic, pulling in whatever post is currently being viewed:
function add_article_schema() {
    if (is_singular('post')) {
        $schema = [
            "@context" => "https://schema.org",
            "@type" => "BlogPosting",
            "headline" => get_the_title(),
            "datePublished" => get_the_date('c'),
            "author" => [
                "@type" => "Person",
                "name" => get_the_author()
            ]
        ];
        echo '<script type="application/ld+json">' . wp_json_encode($schema) . '</script>' . "\n";
    }
}
add_action('wp_head', 'add_article_schema');
FAQ schema, manually. If your posts end with an FAQ section, which honestly they should, wrapping that in FAQPage schema is one of the more reliable ways to earn extra real estate in search results:
function add_faq_schema($faqs) {
    $items = [];
    foreach ($faqs as $faq) {
        $items[] = [
            "@type" => "Question",
            "name" => $faq['question'],
            "acceptedAnswer" => [
                "@type" => "Answer",
                "text" => $faq['answer']
            ]
        ];
    }
    $schema = [
        "@context" => "https://schema.org",
        "@type" => "FAQPage",
        "mainEntity" => $items
    ];
    echo '<script type="application/ld+json">' . wp_json_encode($schema) . '</script>';
}
You’d call that function with your FAQ array wherever your FAQ block renders on the template.
Testing it. After adding any schema, run the page through Google’s Rich Results Test. It’ll flag missing required fields immediately, and it’s the same tool a plugin’s built-in validator is quietly calling behind the scenes anyway.
| Schema Type | Use Case | Where to Add |
|---|---|---|
| Organization | Brand identity, logo, social profiles | Sitewide (header/footer) |
| Article / BlogPosting | Blog posts | Single post template |
| BreadcrumbList | Navigation context | Sitewide via breadcrumb function |
| FAQPage | FAQ sections in posts | Per-post, wrapping FAQ content |
| Product | Ecommerce pages | Product template |
Site Speed and Core Web Vitals Without a Plugin
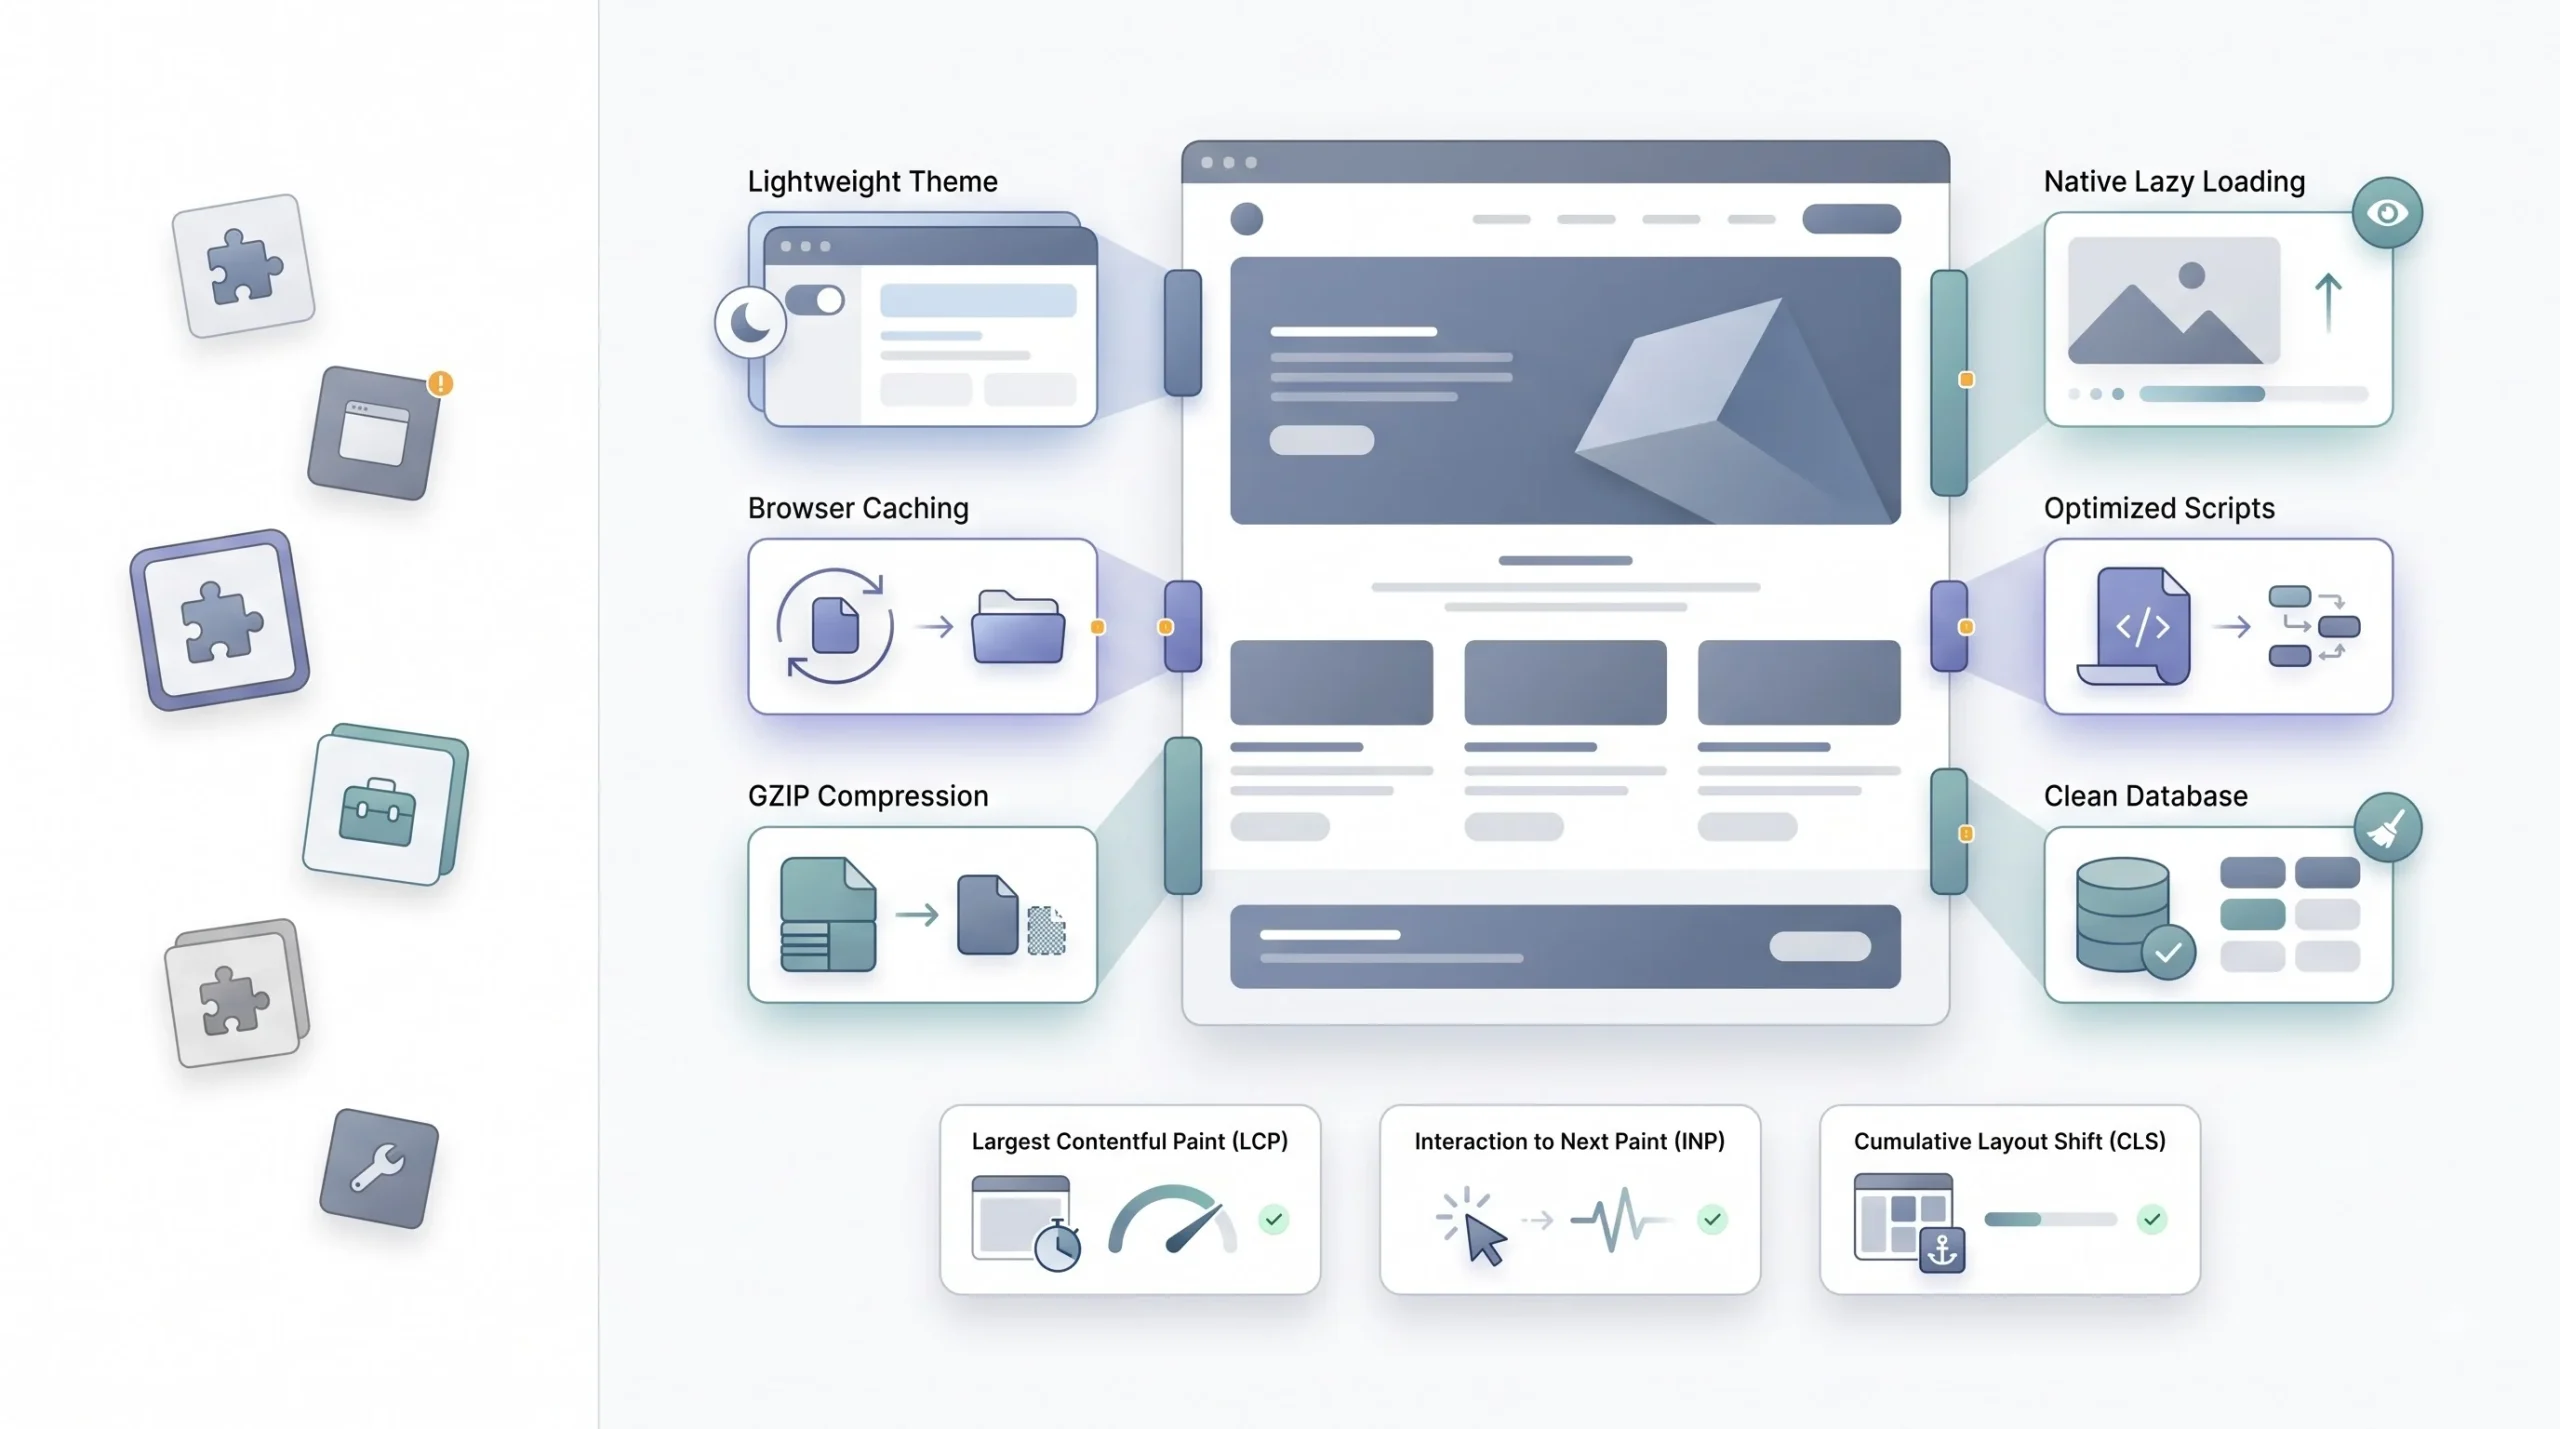
Speed and SEO stopped being two separate conversations a while back. They’re the same conversation now. Google’s Core Web Vitals tie directly into how pages get evaluated, and here’s the thing about most caching and speed plugins: they’re really just running the same handful of server-level and code-level tweaks below, wrapped in a dashboard with a score on it. None of it needs a plugin to work.
Theme choice is the biggest lever. Before writing a single optimisation snippet, look at what theme you’re running. A bloated theme with fifteen unused features baked in will outweigh any manual tweak you make later. Lightweight themes give you a much better starting line.
Browser caching and GZIP, manually. Both of these live in .htaccess:
<IfModule mod_expires.c>
ExpiresActive On
ExpiresByType image/jpg "access plus 1 year"
ExpiresByType image/webp "access plus 1 year"
ExpiresByType text/css "access plus 1 month"
ExpiresByType application/javascript "access plus 1 month"
</IfModule>

<IfModule mod_deflate.c>
AddOutputFilterByType DEFLATE text/html text/css application/javascript
</IfModule>
That tells browsers to hold onto static assets locally instead of re-downloading them on every visit, and compresses text-based files before sending them over the wire.
Lazy loading, already native. WordPress has shipped native lazy loading since version 5.5, adding loading="lazy" automatically to images below the fold. You genuinely don’t need a plugin for this one at all, it’s already running on your site right now unless you’ve disabled it somewhere.
Reducing HTTP requests. Combine and minify CSS and JS by hand where you can, and defer anything non-critical, like tracking scripts, so it loads after the main content:
function defer_scripts($tag, $handle) {
    if (is_admin()) return $tag;
    return str_replace(' src', ' defer src', $tag);
}
add_filter('script_loader_tag', 'defer_scripts', 10, 2);
Database cleanup, manually. Post revisions, expired transients, and spam comments pile up in your database over time and slow down queries. You can clean this out directly through phpMyAdmin with a query like:
DELETE FROM wp_posts WHERE post_type = 'revision';
DELETE FROM wp_options WHERE option_name LIKE '_transient_%';
Back up first. Always back up first before running deletes on your live database.
Hosting matters more than any of this. No amount of code-level optimisation fixes a server with a slow response time. If your hosting has a Time to First Byte over a second, fix that before anything else on this list.
| Metric | Measures | Good Threshold |
|---|---|---|
| LCP (Largest Contentful Paint) | Load speed of main content | Under 2.5s |
| INP (Interaction to Next Paint) | Responsiveness | Under 200ms |
| CLS (Cumulative Layout Shift) | Visual stability | Under 0.1 |
Tip: Before writing a single line of optimisation code, check hosting. A slow server response time caps every other speed improvement you make.
Image SEO Without a Plugin
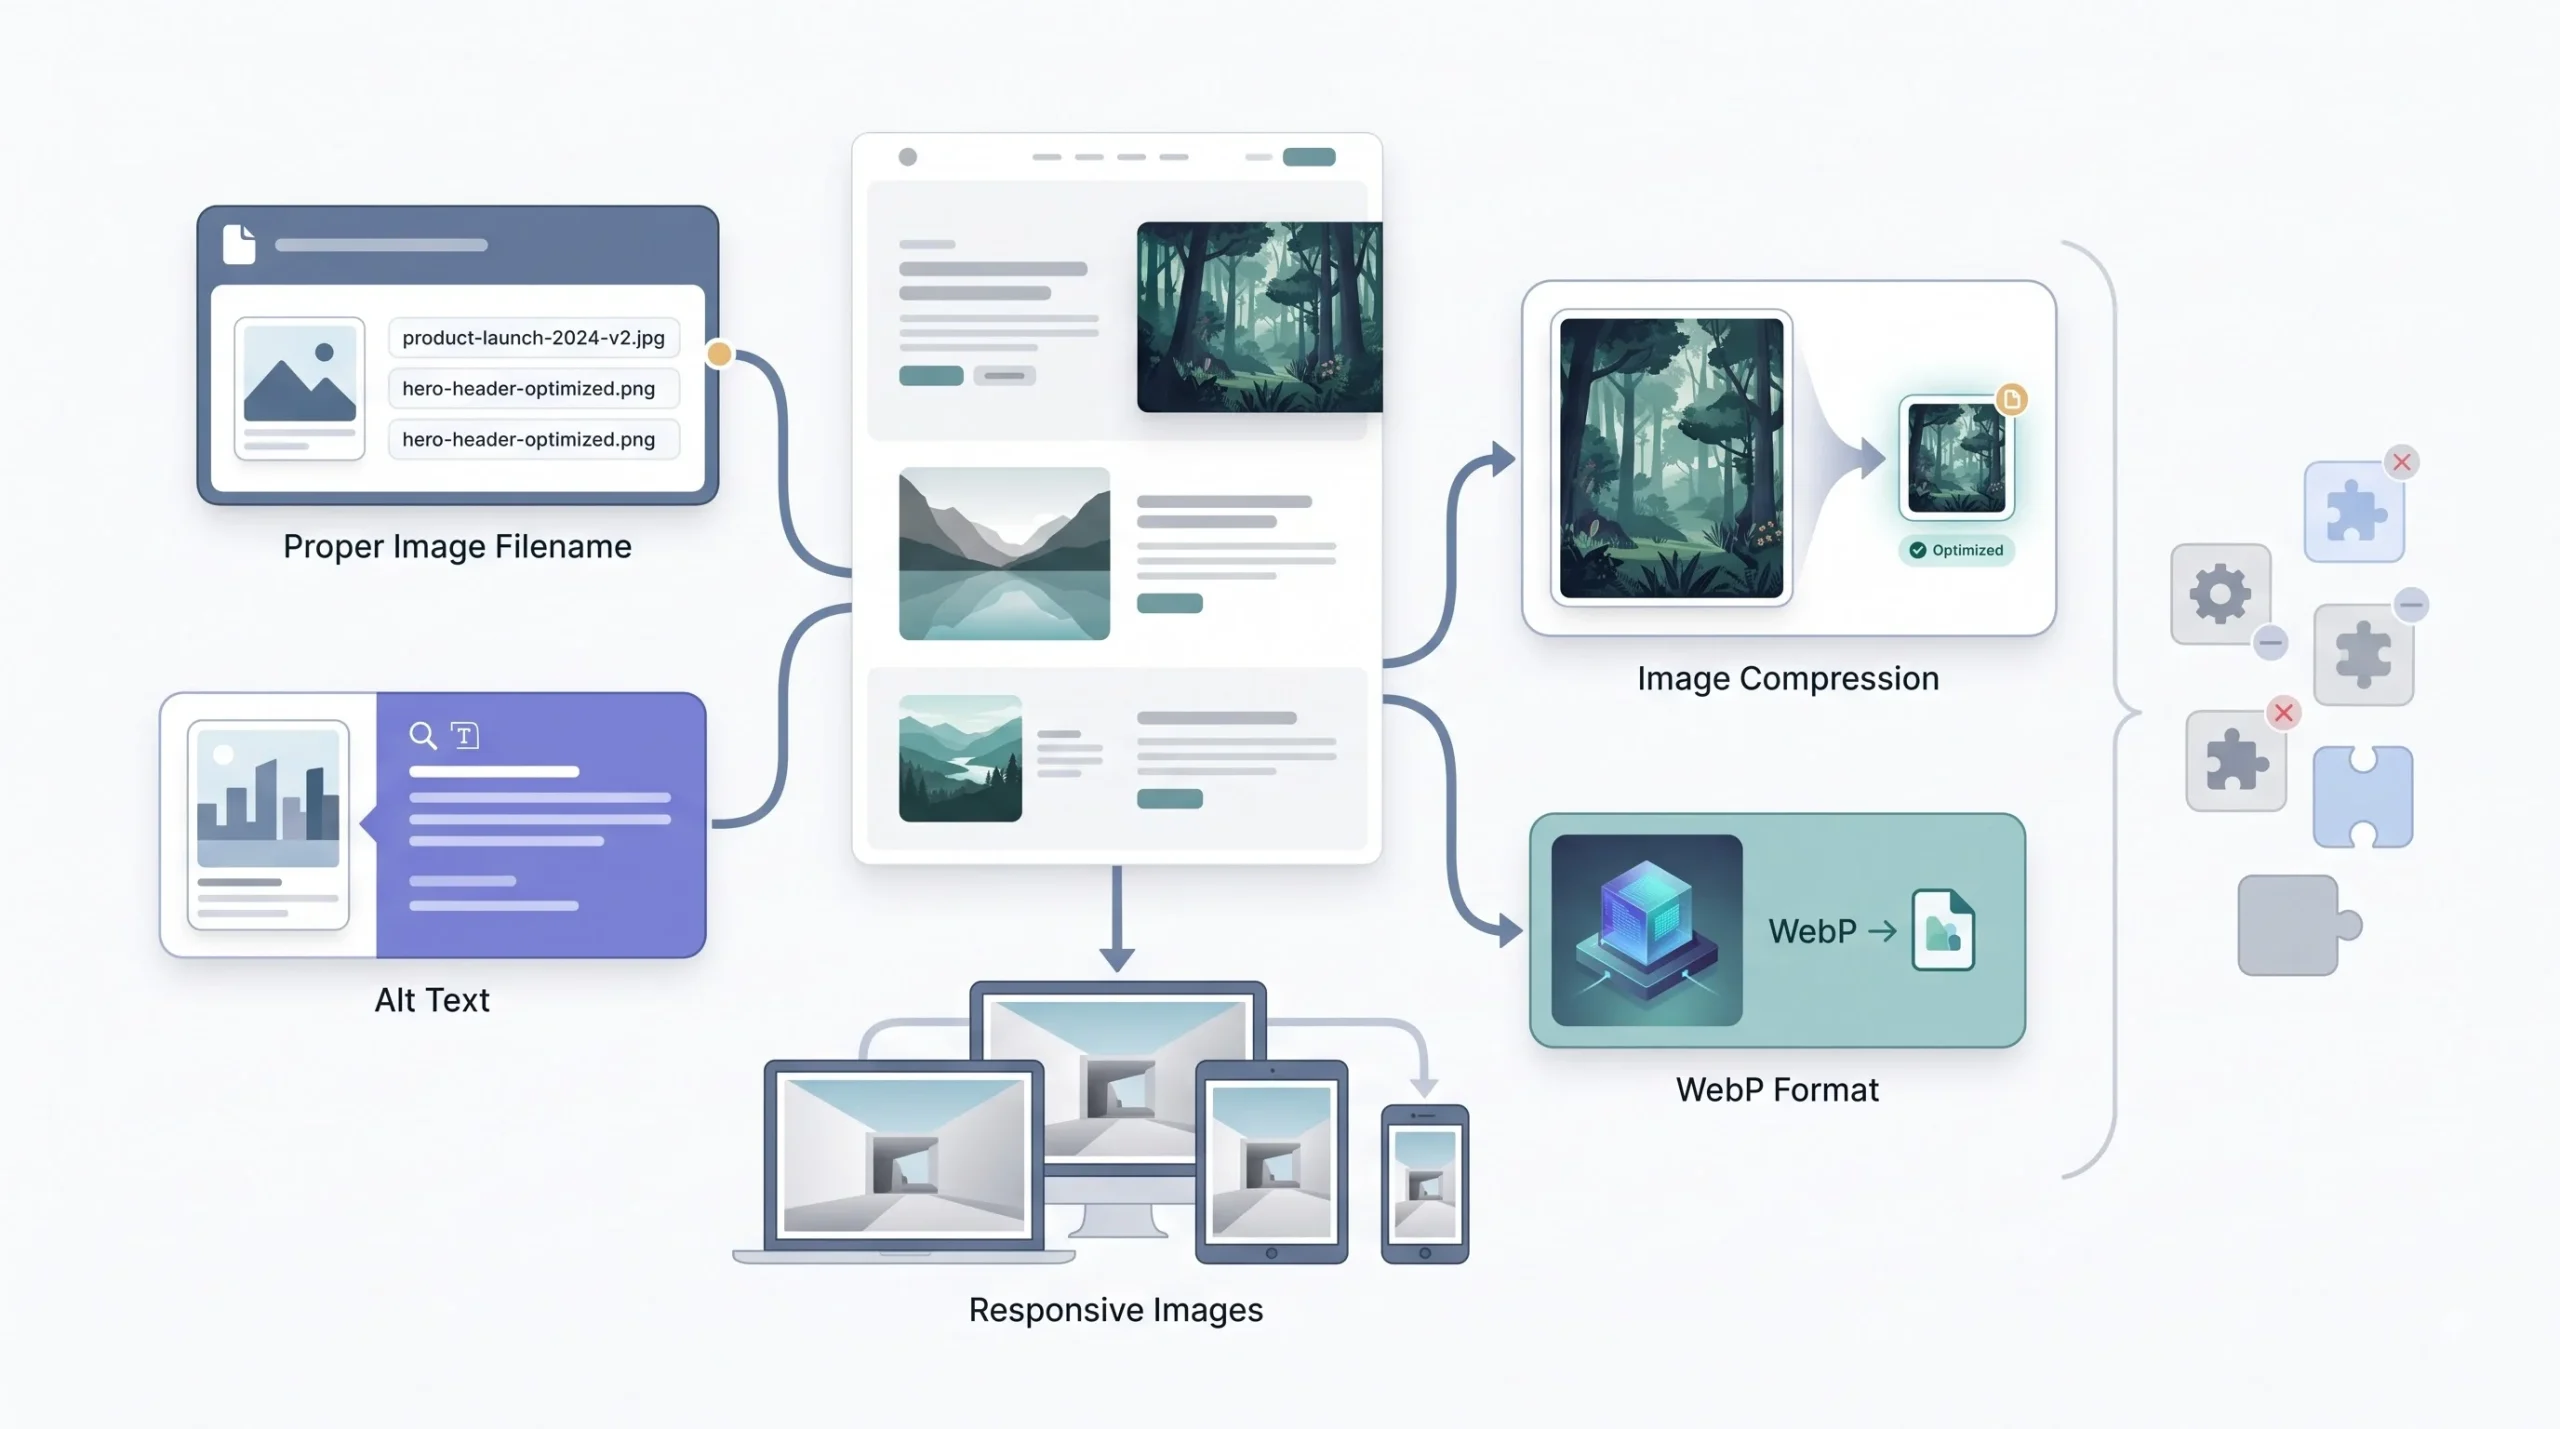
Images are one of the more overlooked corners of SEO, and none of it needs automation.
Name files properly before upload. red-running-shoes-nike.jpg tells Google something. IMG_4821.jpg tells it nothing. Rename files before you drag them into the Media Library, not after.
Add alt text manually. Every image in the Media Library has an Alt Text field sitting right there. It takes ten seconds per image, and it does double duty, helping both search engines and screen readers understand what’s in the picture.
Compress before uploading. Skip the compression plugin and just run images through TinyPNG or Squoosh before they ever touch your Media Library. It’s a five-second extra step in your upload workflow, and it keeps page weight down without any code running on your server.
Use WebP. WordPress has supported native WebP uploads since version 5.8. Export your images as WebP from whatever tool you’re using and upload directly, no conversion plugin required.
Responsive images, already automatic. WordPress auto-generates srcset attributes for uploaded images, serving different sizes depending on the device. This is happening right now on your site without any plugin involved, most people just don’t realise it.
Internal Linking and Site Structure
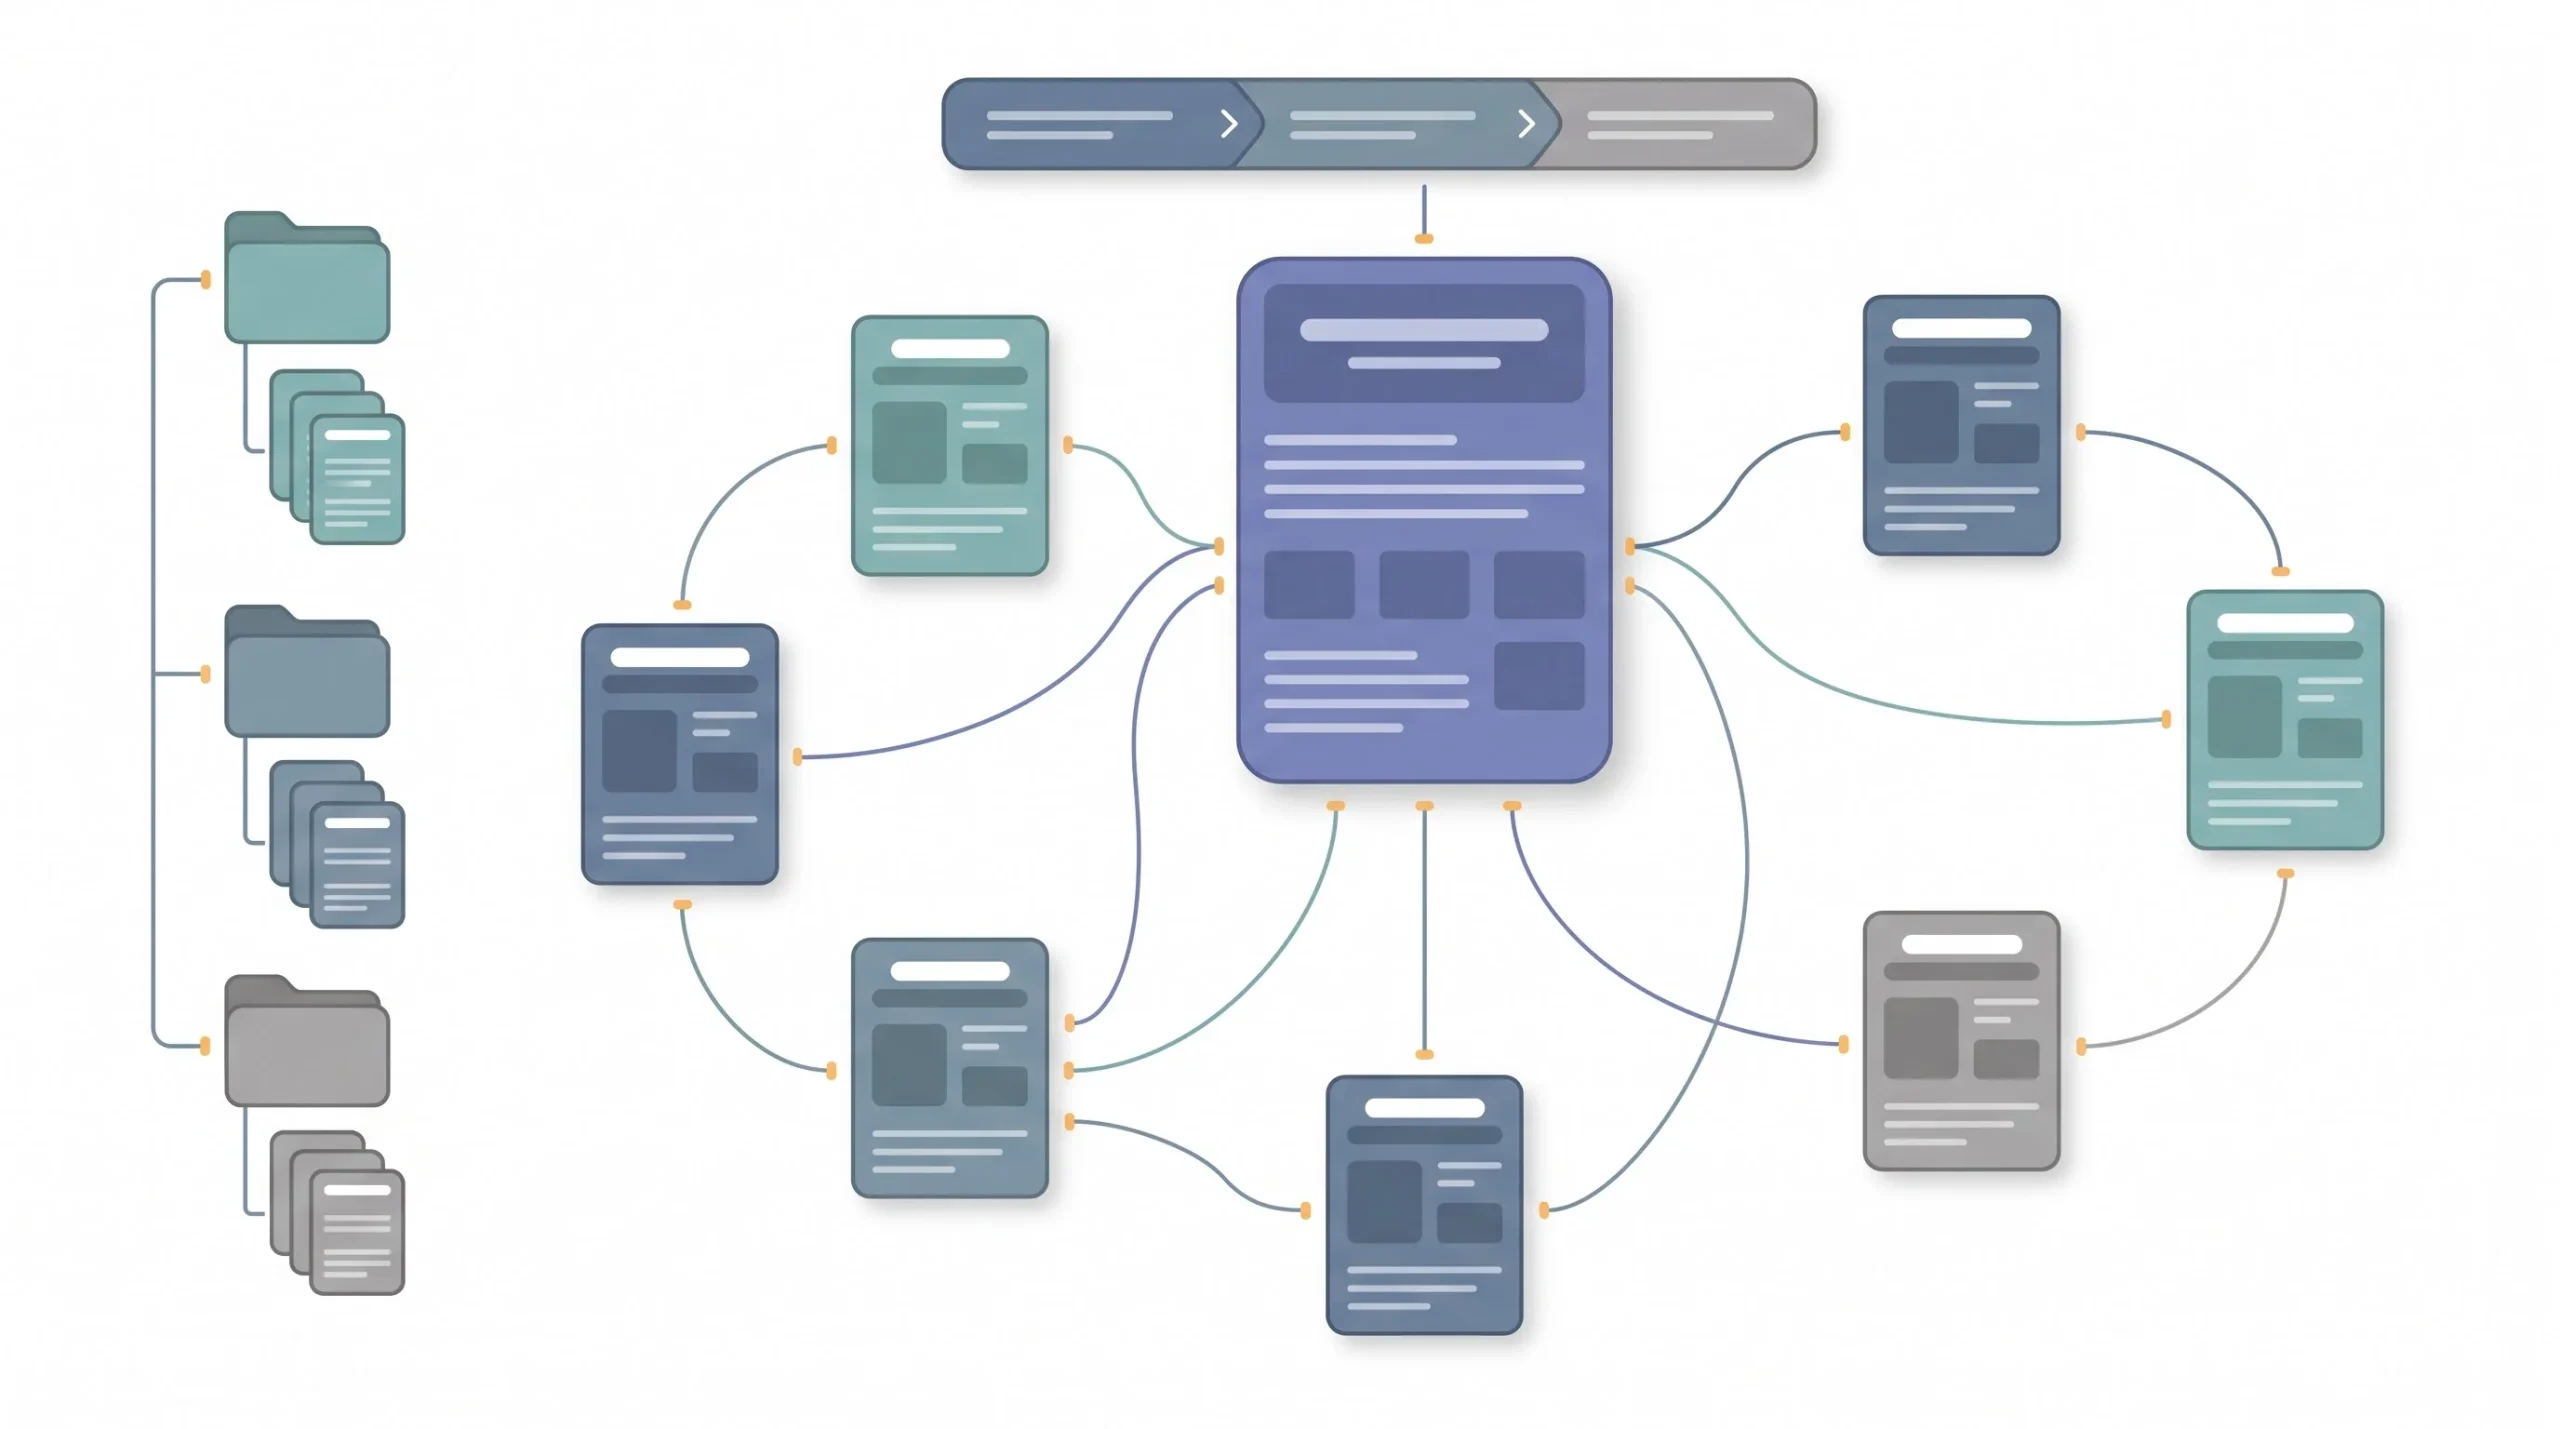
None of this needs code. It needs a system, and honestly it’s the part of SEO that pays off the most for the least technical effort.
Why internal linking is the easiest manual win. Google finds new pages by following links. A page with zero internal links pointing to it is basically invisible until it happens to get crawled some other way. Every link you add from an existing page to a new one speeds that up.
Build a content silo structure. Group related posts under one pillar page, then link out to supporting posts and back up to the pillar from each one. Take a long-form guide on website speed as the pillar. Every related post, whether that’s one on image compression, one on caching, or one on choosing hosting, should link back up to that pillar, and the pillar should link out to all of them somewhere in its body copy. That’s the whole structure. It’s not complicated, it just needs to actually get done post by post instead of assumed.
Use categories and tags the way they’re meant to be used. Most WordPress sites use these interchangeably, which is a mistake. Categories should represent broad, permanent topic buckets, maybe five to ten total. Tags are for specific, cross-cutting themes, and you can have dozens. Category pages and tag pages both get indexed, so treating them casually creates thin, duplicate-feeling archive pages.
Breadcrumbs without a plugin. A simple function does this:
function custom_breadcrumbs() {
    echo '<a href="' . home_url() . '">Home</a>';
    if (is_single()) {
        the_category(' • ');
        echo ' • ' . get_the_title();
    }
}
Drop that into your single post template and it gives visitors, and search engines, a clear path back to the site structure.
Fixing orphan pages. Run a crawl of your own site and look for URLs that never show up as a link target anywhere else. Those are orphan pages, and they need at least one internal link pointing to them or they’ll sit there quietly doing nothing for months.
Strategy: Every new post should link to at least 2–3 older posts, and get linked back from at least one. That loop is what plugins like to score for you, but it’s really just an editorial habit.
Robots.txt and Crawl Control Without a Plugin
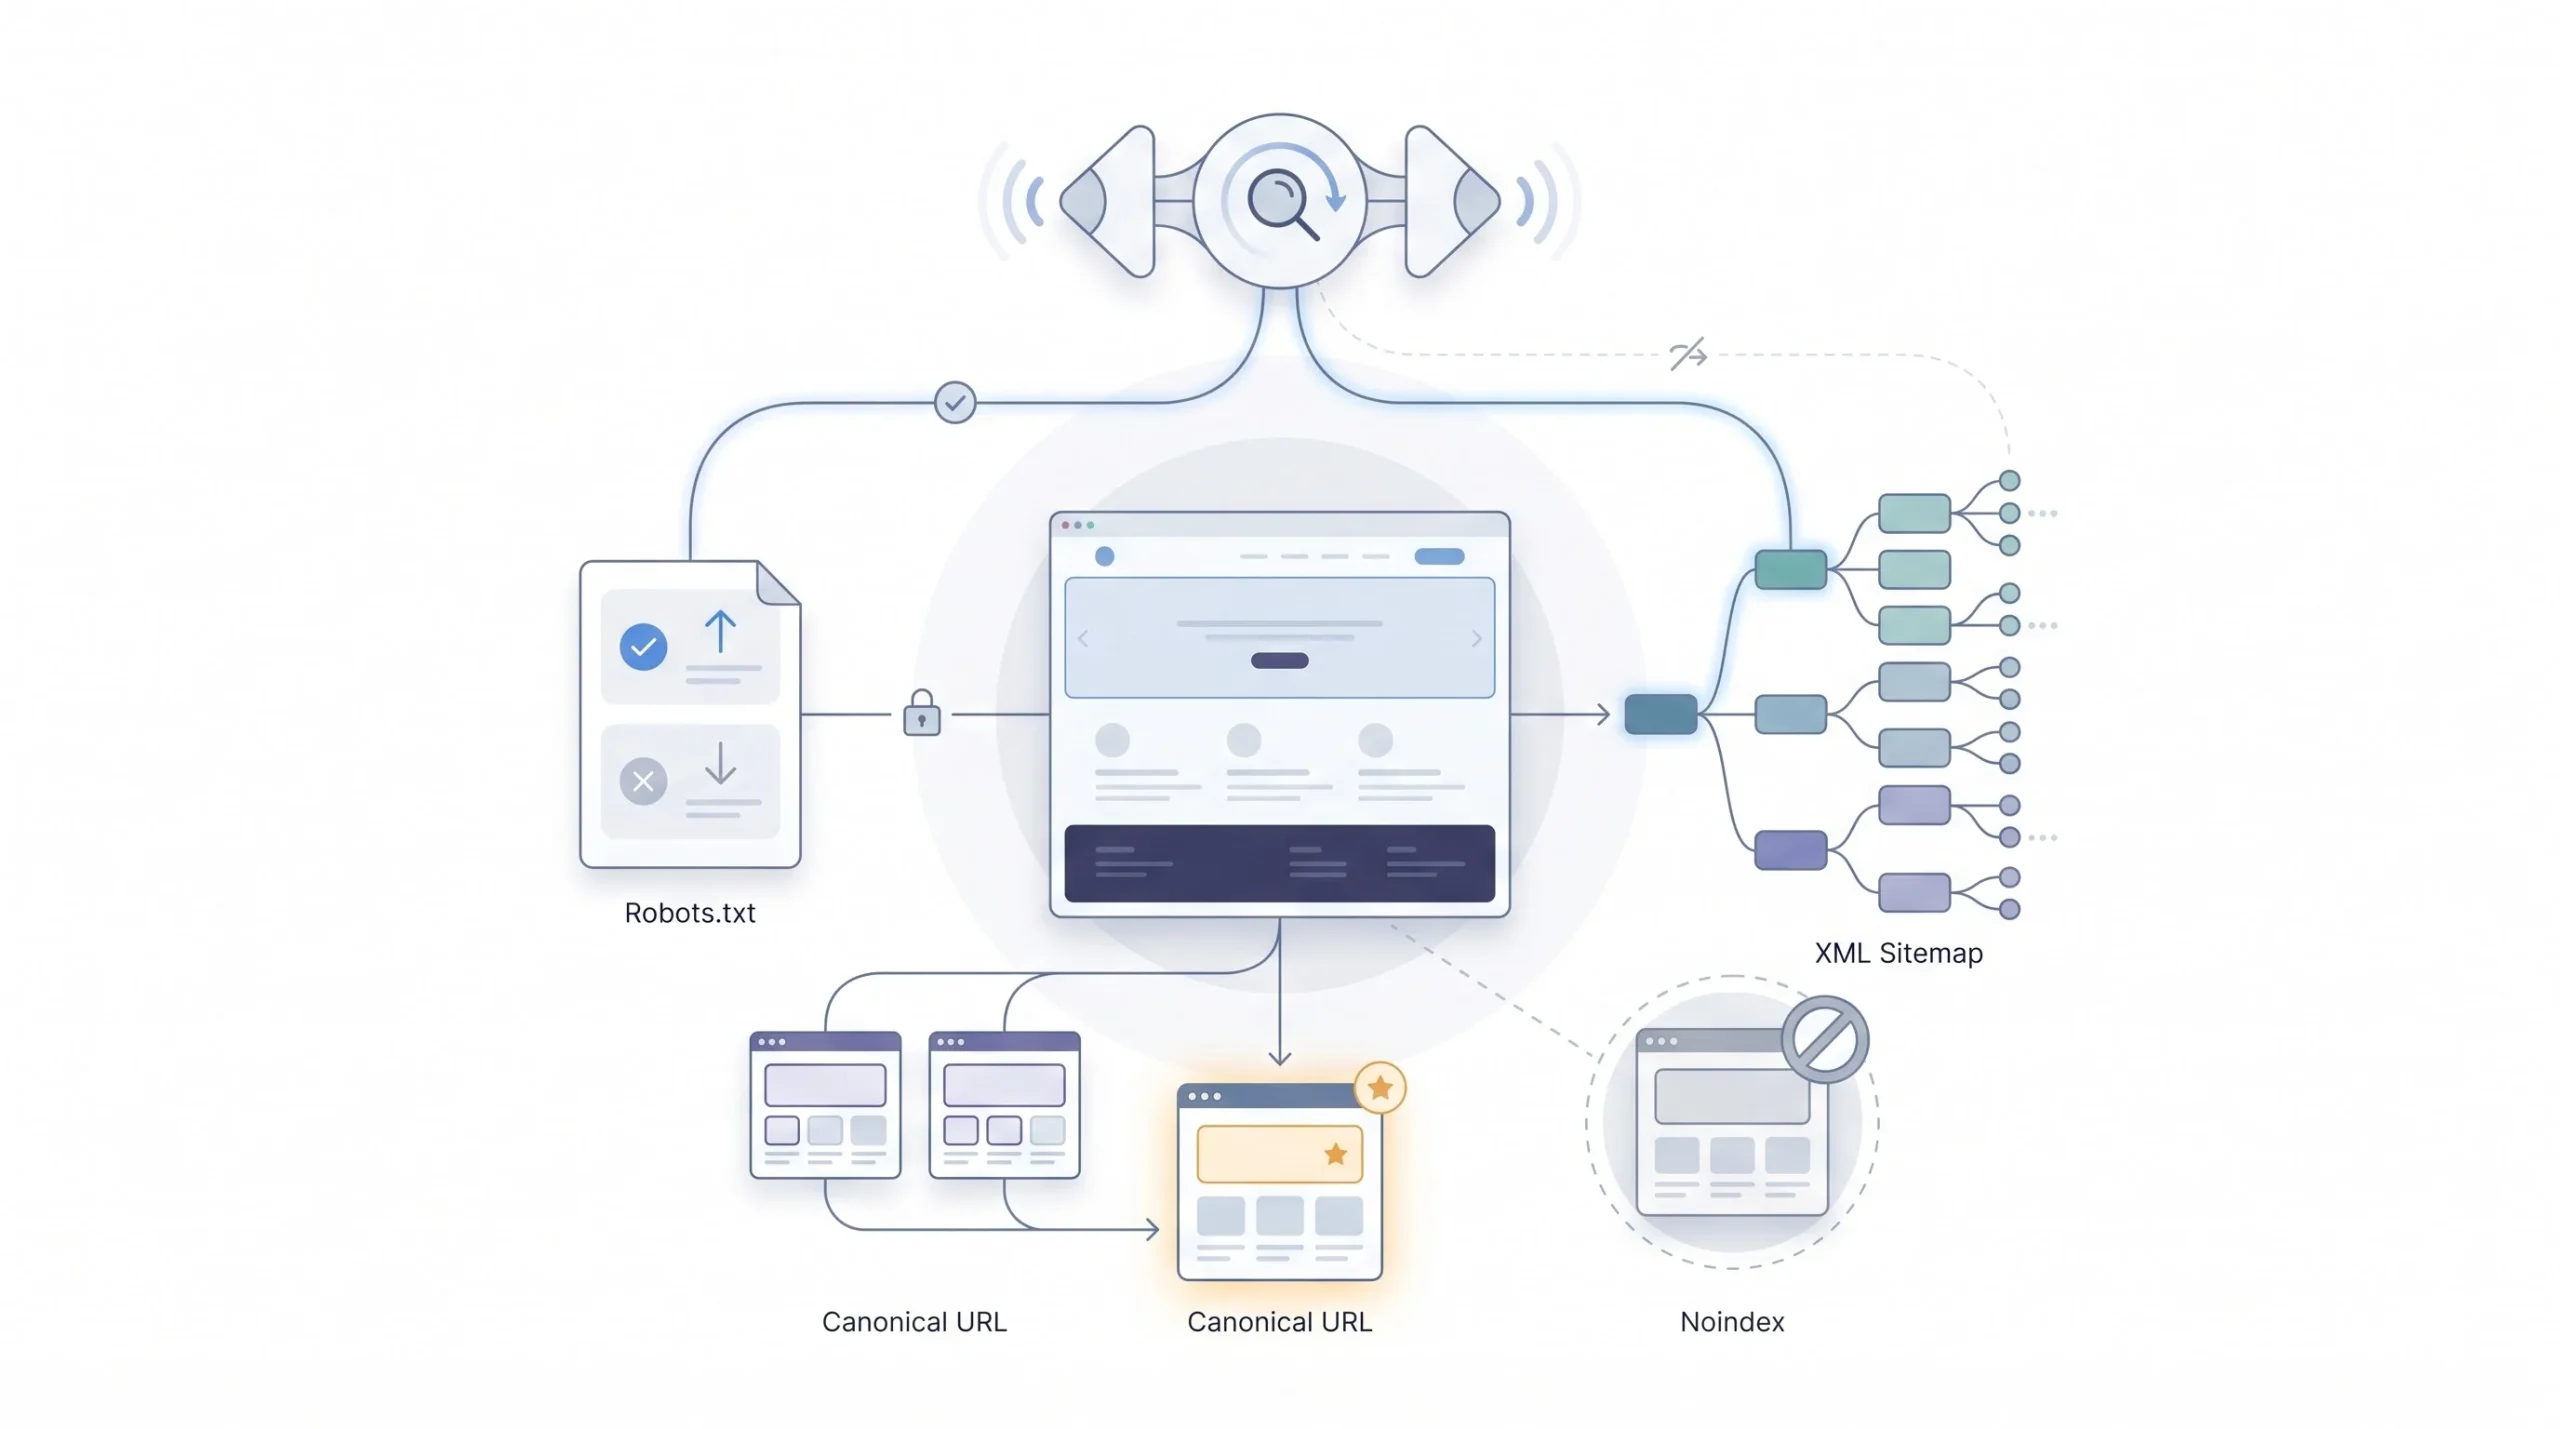
Most people never touch robots.txt at all, and honestly, that’s usually fine, because WordPress already has one running by default.
The virtual robots.txt. WordPress generates a basic robots.txt automatically even if no physical file exists on your server. You can see it right now by visiting yourdomain.com/robots.txt.
When to create a physical file instead. If you need directives more specific than the default, you’ll need an actual file in your root directory, since a physical file overrides the virtual one completely.
The common directives.
| Directive | Purpose | Example |
|---|---|---|
| User-agent | Specifies which bot the rule applies to | User-agent: * |
| Disallow | Blocks crawling of a path | Disallow: /wp-admin/ |
| Allow | Overrides a disallow for a subpath | Allow: /wp-admin/admin-ajax.php |
| Sitemap | Points crawlers to sitemap location | Sitemap: https://site.com/wp-sitemap.xml |
Controlling indexing with noindex tags. For thin or duplicate pages you don’t want in search results at all, add a noindex meta tag using the same custom field approach from earlier:
function output_noindex_tag() {
    if (get_post_meta(get_the_ID(), '_noindex', true) === 'yes') {
        echo '<meta name="robots" content="noindex">' . "\n";
    }
}
add_action('wp_head', 'output_noindex_tag');
Canonical tags. WordPress already outputs a self-referencing canonical tag on every page through the native rel_canonical() function, which runs automatically on wp_head. You only need to override it manually in specific cases, like when two URLs serve near-identical content and you want to point the weaker one at the stronger one.
A Manual SEO Health-Check Workflow
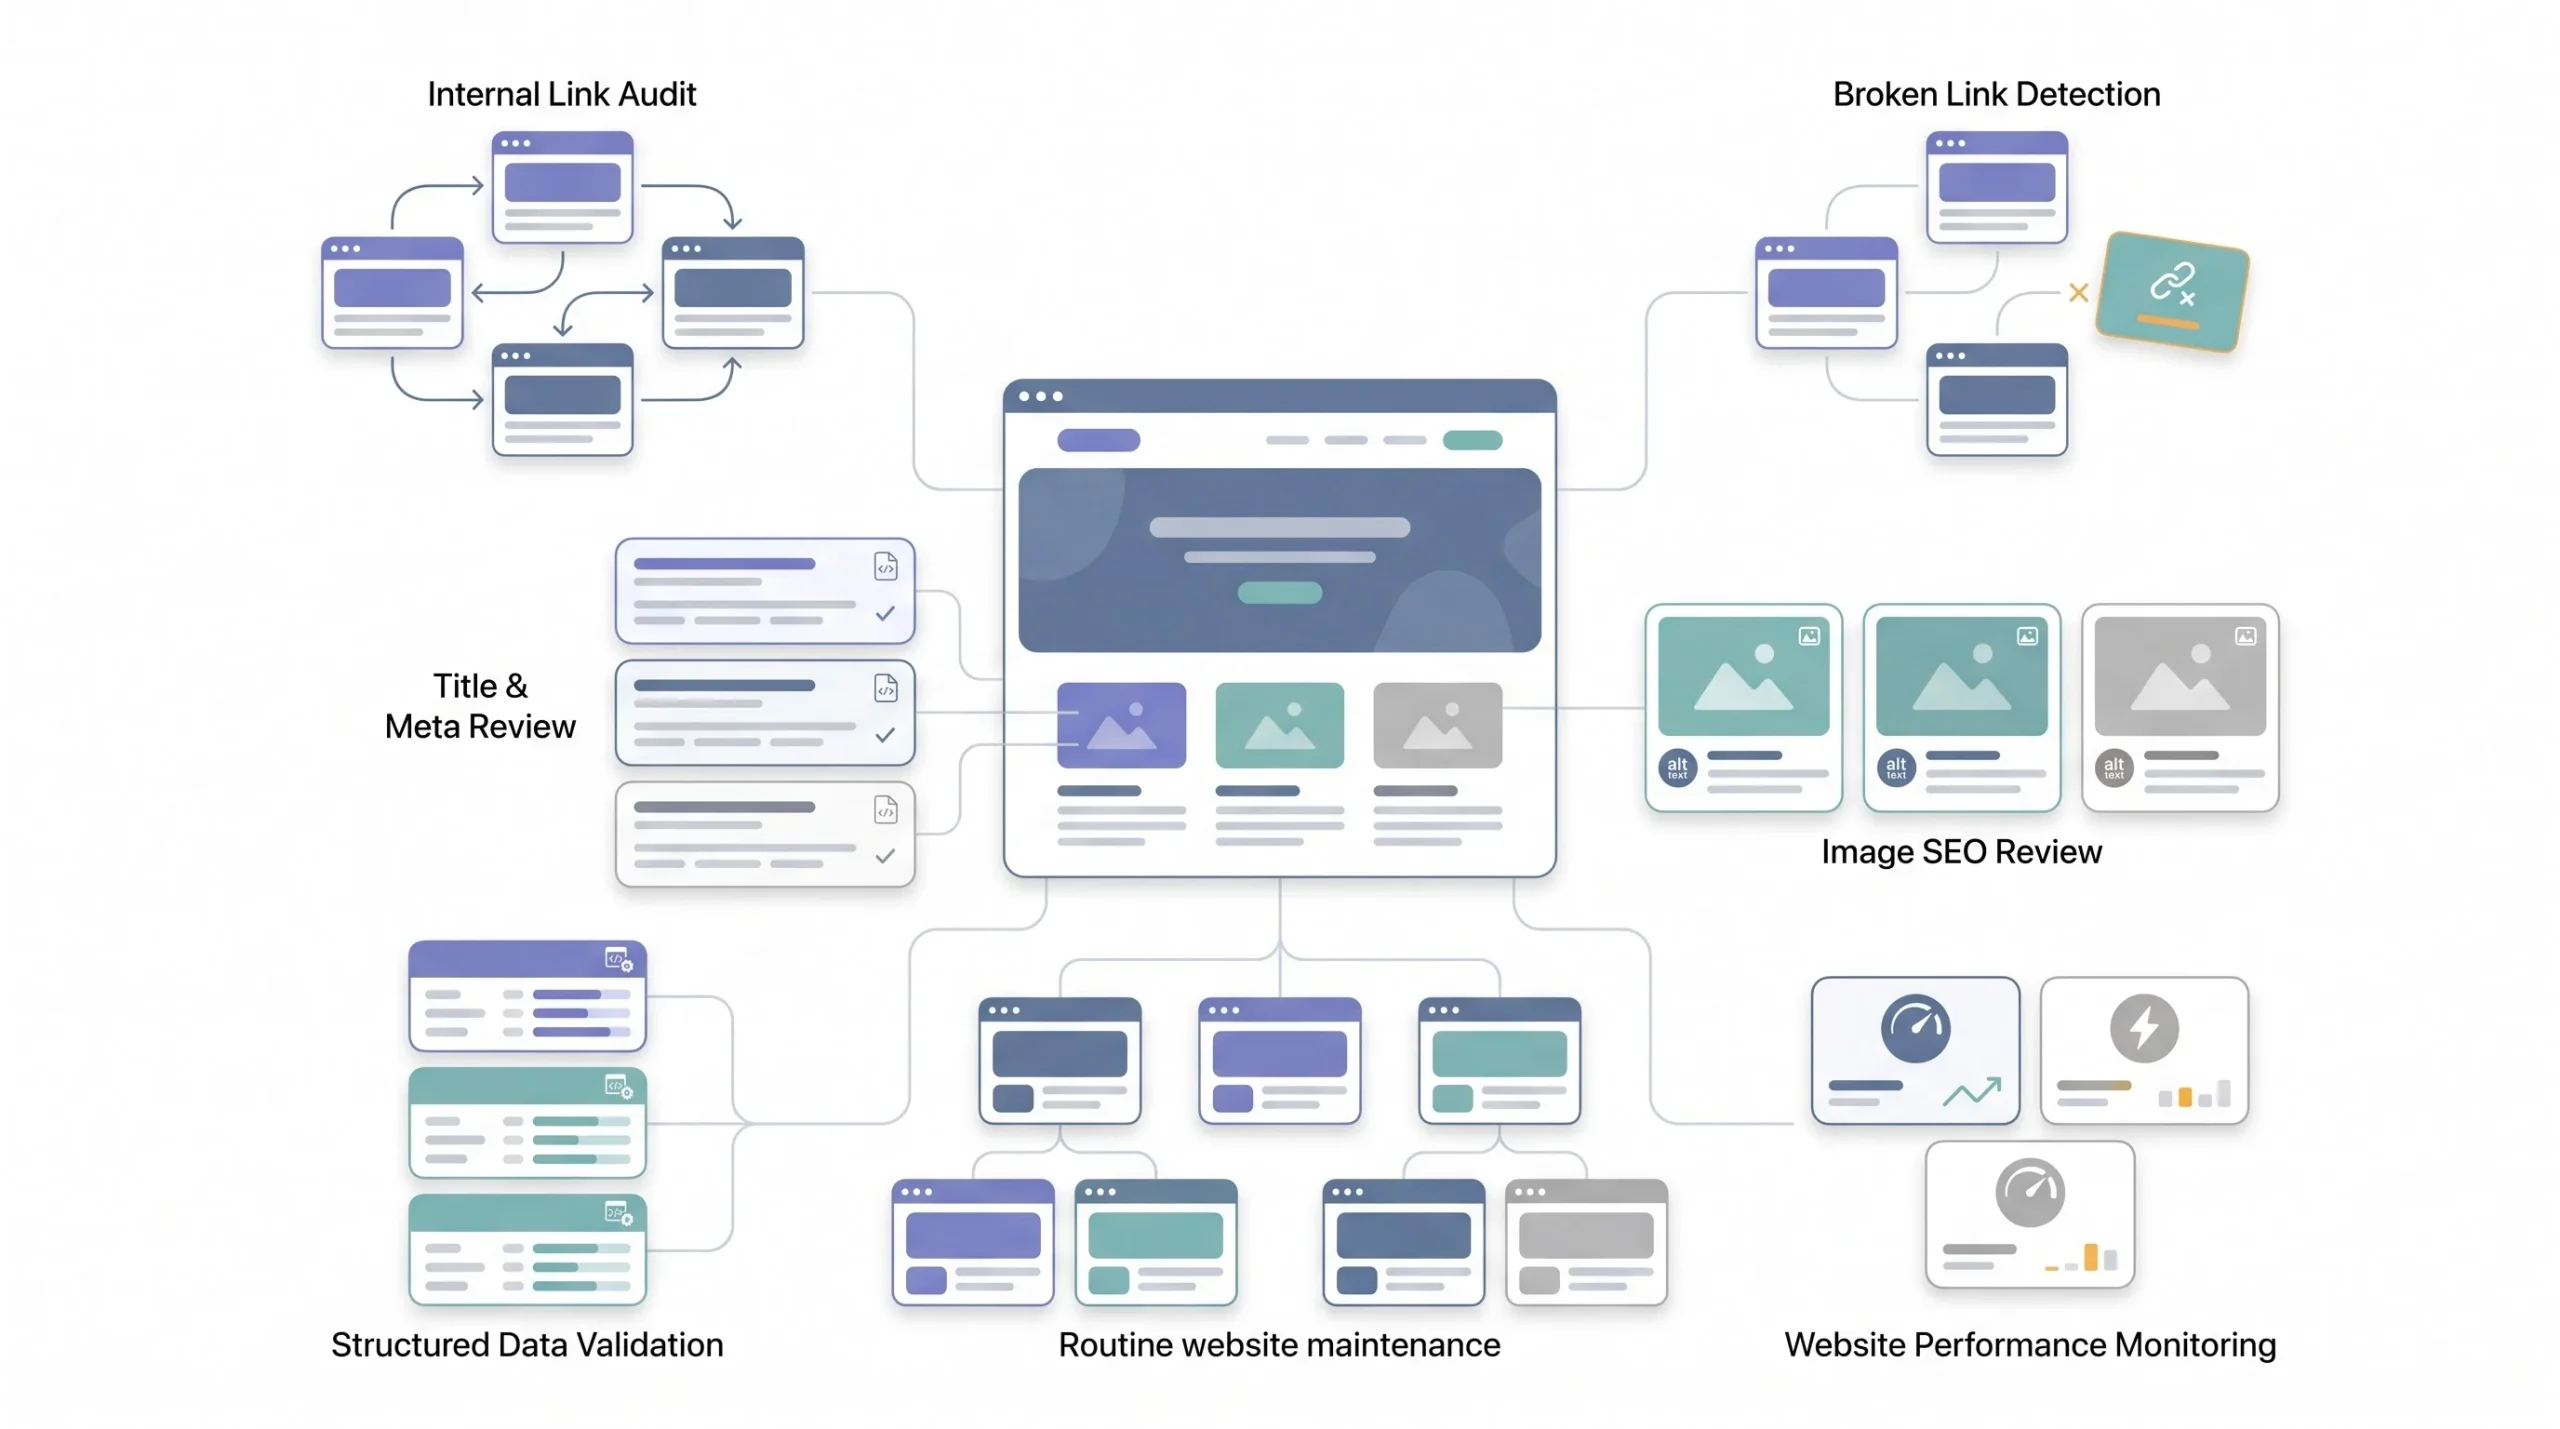
Doing all of the above once isn’t the finish line. SEO decays if nobody’s checking on it, so build a habit around it, not a one-time project.
Monthly checklist. Look for broken links, orphan pages that never got an internal link, duplicate titles or descriptions across posts, and images missing alt text. None of this needs to be dramatic, just a recurring hour on the calendar.
Free tools that replace a plugin dashboard. Google Search Console for indexing and performance data, PageSpeed Insights for Core Web Vitals, Screaming Frog’s free tier for crawling up to 500 URLs and catching broken links or missing tags, and the Rich Results Test for schema validation.
Spotting indexing issues manually. Run a site:yourdomain.com search in Google every so often and compare what shows up against what you’d expect. Pair that with the Coverage report in Search Console, which flags pages that got excluded and usually tells you exactly why.
| Task | Plugin Would Do This | Manual Free Tool |
|---|---|---|
| Keyword/readability scoring | Yoast/Rank Math analysis | Manual review + Search Console queries |
| Broken link detection | Broken Link Checker plugin | Screaming Frog (free up to 500 URLs) |
| Schema testing | Plugin’s built-in validator | Google Rich Results Test |
| Sitemap monitoring | Plugin dashboard | Google Search Console > Sitemaps |
| Site speed monitoring | Plugin performance tab | PageSpeed Insights, GTmetrix |
Conclusion
None of this is secret knowledge, and it was never meant to be. Yoast and Rank Math aren’t running anything a WordPress developer couldn’t replicate with the same core functions and hooks walked through here, they’re just wrapping it in a friendlier interface with a traffic light on top. Once that interface stops being a mystery, the choice to use a plugin or skip it stops being about fear or convenience. It becomes an actual decision, made with full knowledge of what’s being traded off either way.
That said, none of this is fixed for every stage of a site’s life. A twenty-post blog run by one person can live entirely on manual code without breaking a sweat, and honestly runs lighter for it. A two-thousand-post site with five editors publishing daily is a different animal, and at that scale a plugin’s guided workflow probably saves more time than it costs in overhead. Revisit the setup as the site grows. What’s right for twenty posts isn’t automatically right for two thousand, and there’s nothing wrong with switching gears when the site outgrows the manual approach.
Frequently Asked Questions
Can WordPress SEO really be done without any plugin at all?
Yes, for most sites. Title tags, meta descriptions, sitemaps, schema, and crawl control can all be handled with native WordPress functions and a handful of custom snippets. The trade-off is time and comfort with basic PHP, not capability.
Is manual schema markup as effective as plugin-generated schema?
Yes. Schema is just structured JSON-LD sitting in the page head. Google reads it the same way whether a plugin generated it or a person wrote it by hand, as long as the required fields for that schema type are present and valid.
Does WordPress have a built-in sitemap?
Yes, since version 5.5, released in 2020. It’s available automatically at /wp-sitemap.xml without installing anything.
How do I add meta descriptions in WordPress without Yoast?
WordPress has no native meta description field. You build one using a custom meta box tied to add_meta_boxes and save_post, then output it in the head via wp_head.
Is editing functions.php safe?
It’s safe with a backup and a child theme in place. One typo can cause a white screen, so always work on a staging copy first, or use a lightweight snippet manager instead of the theme file editor directly.
What’s the fastest way to check if my site is properly indexed?
Run a site:yourdomain.com search in Google and cross-check it against the Coverage report in Google Search Console.
Do I need a plugin for canonical tags?
No. WordPress outputs a self-referencing canonical tag automatically on every page through its native rel_canonical() function.
How often should I run a manual SEO audit?
Monthly is a reasonable cadence for most sites, checking broken links, orphan pages, duplicate metadata, and missing alt text.
Will removing my SEO plugin hurt my rankings?
Not if the underlying tags and structure stay in place. Rankings depend on what’s actually output in your HTML, not on which tool generated it. Removing a plugin without replacing its output with manual code is what causes problems, not the removal itself.
What’s the minimum manual SEO setup for a brand-new WordPress site?
Custom title tag filter, a meta description field, the native sitemap submitted to Search Console, and basic Organization schema on the homepage. Everything else can be layered in as the site grows.